Hello. Today’s menu is Ketchup Kimchi Fried Rice & Sweetened Condensed Milk Butter Corn Cheese, pairing spicy, savory Vienna-sausage ketchup kimchi fried rice with rich, sweet corn cheese made with condensed milk and butter. They are technically two separate dishes, though. Still, you probably already know how powerful this combo is. Plus, it works for solo meals, home parties, a full meal, or even as a drinking snack. It’s also easy to customize in many ways. Now, let’s get into the recipe.
ⓒ
Copyright PAKOC https://pakoc.net📋 At a Glance
- Recipe name: Ketchup Kimchi Fried Rice & Sweetened Condensed Milk Butter Corn Cheese
- Main ingredients (fried rice): 2 cups kimchi, a handful of Vienna sausages, ketchup, gochugaru (Korean red pepper flakes), sugar, corn syrup, 2 servings cooked rice
- Main ingredients (corn cheese): 150g sweet corn, 1.5 tbsp sweetened condensed milk, 2 tbsp mayonnaise, 1 tbsp butter, 100–120g mozzarella (pizza cheese)
- Difficulty: Easy (beginner-friendly)
- Servings: 2
- Prep time: 10 minutes
- Cook time: 20 minutes
- Best for: Solo meals, home parties, meals, drinking snacks
- Overall: A can’t-miss combo of spicy-salty kimchi fried rice and rich, sweet corn cheese. Great together or on their own.
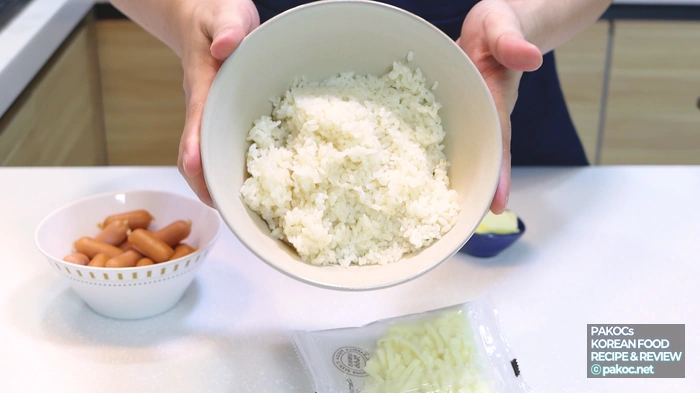
Ingredients Overview
Let’s quickly check the ingredients. Since this is kimchi fried rice, you’ll want the basics like kimchi, rice, and gochugaru. You’ll also need ketchup (personally, I tend to avoid low-sugar ketchup because it tastes too salty) and I used Vienna sausages. On top of that, prepare the ingredients for the condensed milk butter corn cheese.

ⓒ
Copyright PAKOC https://pakoc.net[Sweetened Condensed Milk Butter Corn Cheese]
- 150g sweet corn
- 1.5 tbsp sweetened condensed milk
- 2 tbsp mayonnaise
- 1 tbsp butter
- Dried parsley (optional)
- 100–120g mozzarella (pizza cheese) (check the amount)
- A pinch of salt and pepper
[Vienna Sausage Ketchup Kimchi Fried Rice (for 2 servings)]
- 2 tbsp cooking oil
- 2 cups kimchi
- A handful of Vienna sausages
- 1 tbsp sugar
- 1.5 tbsp ketchup
- 1 tbsp gochugaru (Korean red pepper flakes)
- 1/2 tbsp corn syrup
- Rice equivalent to 2 bowls (about 2 microwave rice packs)
Recipe Summary
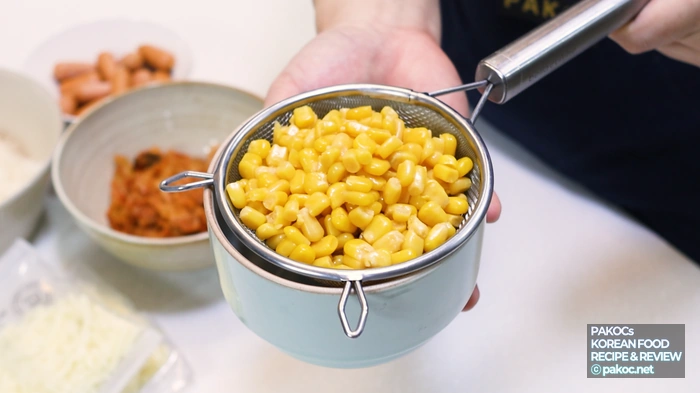
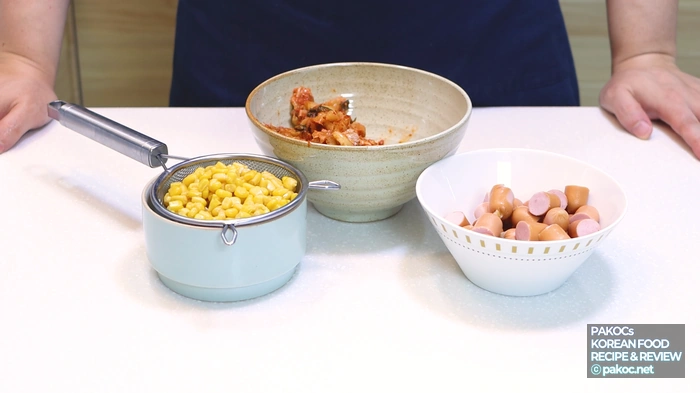
- Slice about a handful of Vienna sausages in half. Chop 2 cups of kimchi into bite-size pieces for fried rice. Drain about 150g sweet corn well in a sieve.
- Heat 2 tbsp cooking oil in a pan. Over medium heat, stir-fry a handful of Vienna sausages until browned. Then add 2 cups chopped kimchi, 1 tbsp sugar, 1 tbsp gochugaru, and 1/2 tbsp corn syrup. Stir-fry.
- Add rice (about 2 microwave rice packs’ worth). Add 1 tbsp ketchup and mix over low heat to finish stir-frying.
- Transfer the finished kimchi fried rice to a bowl and set aside briefly.
- In a clean 26cm pan, melt 1 tbsp butter lightly. Add the sweet corn and stir-fry over medium heat.
- Once the corn is lightly browned, add 2 tbsp mayonnaise, 1.5 tbsp sweetened condensed milk, and a pinch of salt and pepper. Mix over low heat.
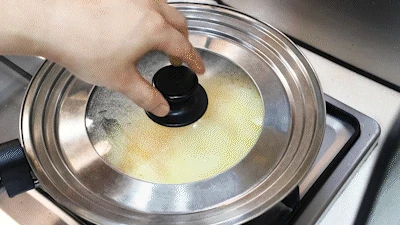
- Move the corn mixture to about half of the pan. Sprinkle about 100g mozzarella evenly, cover, and let it melt. If you don’t have a lid, cover with foil.
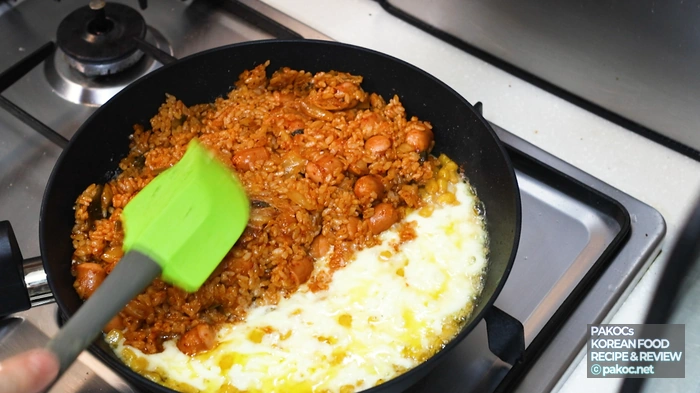
- When the cheese is about halfway melted, place the kimchi fried rice in the empty space. Cover again and melt the cheese fully.
- Finish by sprinkling toasted sesame seeds and black sesame seeds over the fried rice to taste. Sprinkle parsley over the corn cheese to taste.
👩🍳 You can top the finished kimchi fried rice with toasted sesame seeds and black sesame seeds to taste. For the corn cheese, sprinkle parsley to taste.
🥗 Prep time: 10 minutes
🍳 Cook time: 20 minutes
It’s best to drain about 150g of sweet corn thoroughly in a sieve. Also, prep 2 cups of kimchi. Since you’ll be adding gochugaru and ketchup, you can drain off a bit of the kimchi juice.
ⓒ
Copyright PAKOC https://pakoc.net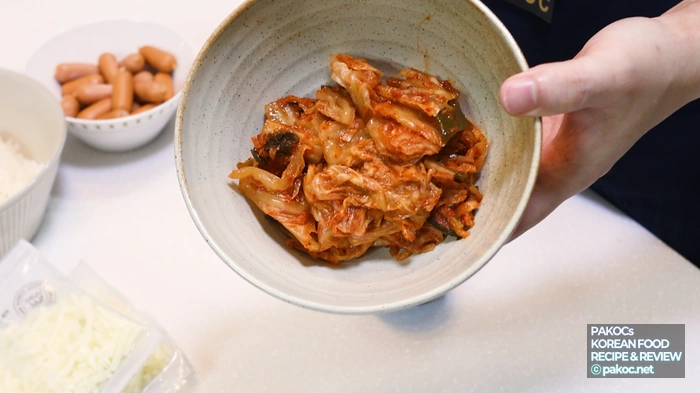
ⓒ
Copyright PAKOC https://pakoc.netUsing two microwave rice packs is the standard amount. However, I used regular cooked rice and added one or two extra spoonfuls. I was really hungry.
ⓒ
Copyright PAKOC https://pakoc.netIngredient Prep
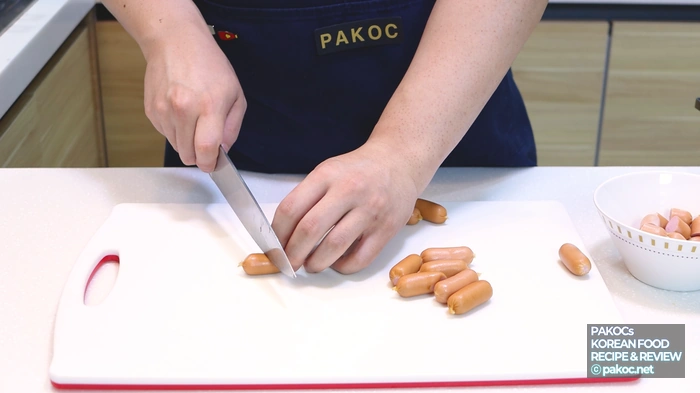
Now, shall we prep everything? This is an easy dish whether you’re handy in the kitchen or not. It doesn’t take much effort. Slice about a handful of Vienna sausages in half. As with dishes like this, it’s best to choose sausages with plenty of pork, depending on your taste.
ⓒ
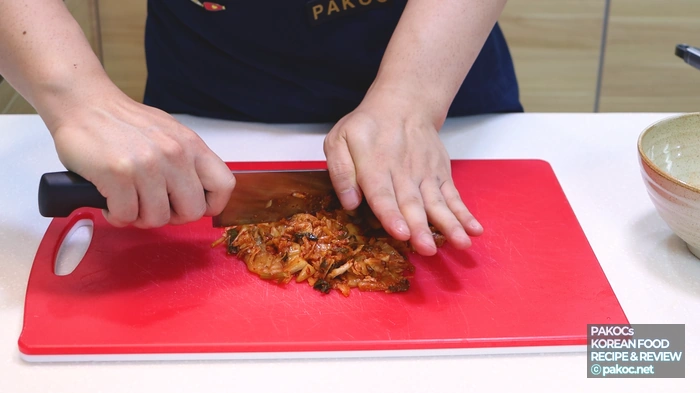
Copyright PAKOC https://pakoc.netPrep the kimchi too. If you’re making this as a meal, cut it into rough pieces with kitchen scissors. If you’re serving it more like a side or drinking snack, finely chop it. It depends on preference, but I chopped it so it mixes well into fried rice.
ⓒ
Copyright PAKOC https://pakoc.net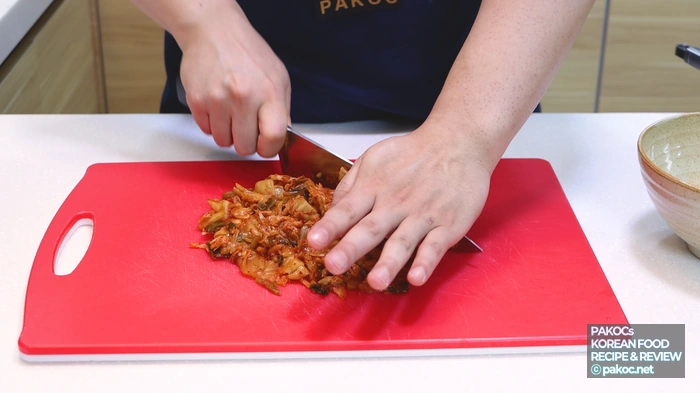
ⓒ
Copyright PAKOC https://pakoc.netAnd that’s it for prep. Very simple. Just portion each ingredient into bowls, and then we’ll start cooking.
ⓒ
Copyright PAKOC https://pakoc.netCooking
STEP 1: Stir-fry the Vienna Sausages and Kimchi
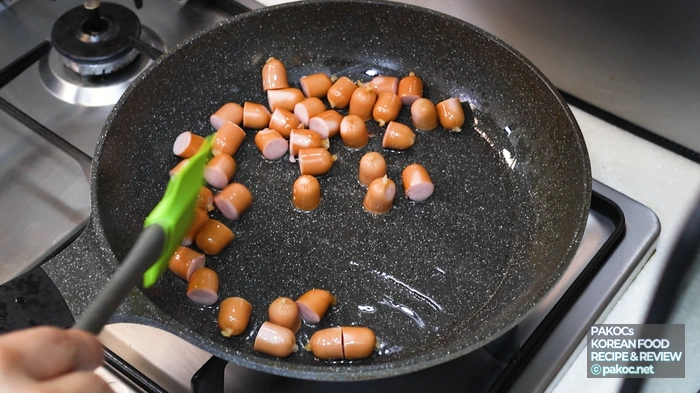
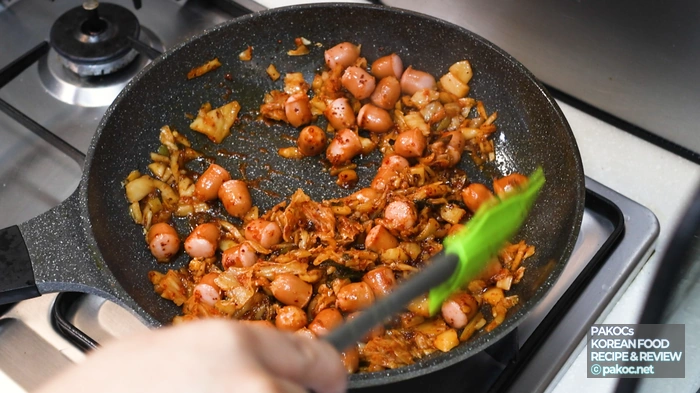
Grab a suitable pan and add 2 tbsp cooking oil. Start on high heat, then switch to medium heat. Add a handful of Vienna sausages and stir-fry until nicely browned.
ⓒ
Copyright PAKOC https://pakoc.net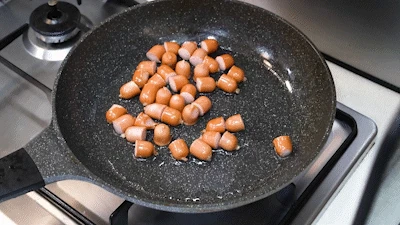
ⓒ
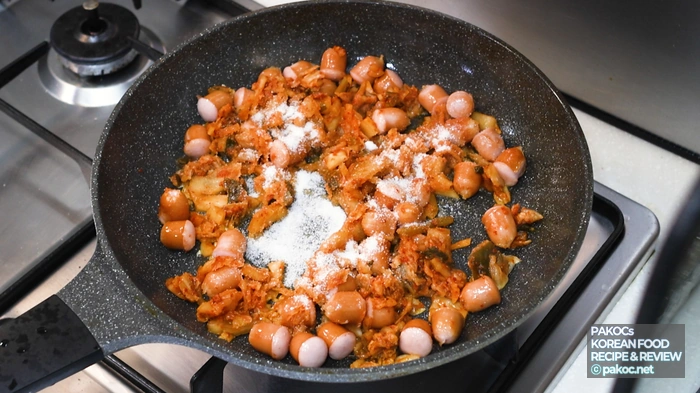
Copyright PAKOC https://pakoc.netAdd 2 cups chopped kimchi, 1 tbsp sugar, 1 tbsp gochugaru, and 1/2 tbsp corn syrup, then stir-fry right away. For reference, corn syrup is less about sweetness and more about adding depth. So, depending on your taste, you can skip it and add pepper instead.
ⓒ
Copyright PAKOC https://pakoc.netSTEP 2: Add Rice and Ketchup to Finish the Fried Rice
If kimchi burns, it turns bitter. So, stir-fry slowly over medium-low heat. Also, since you’ll cook it a bit more after adding the rice, you don’t need to overcook it at this stage.
ⓒ
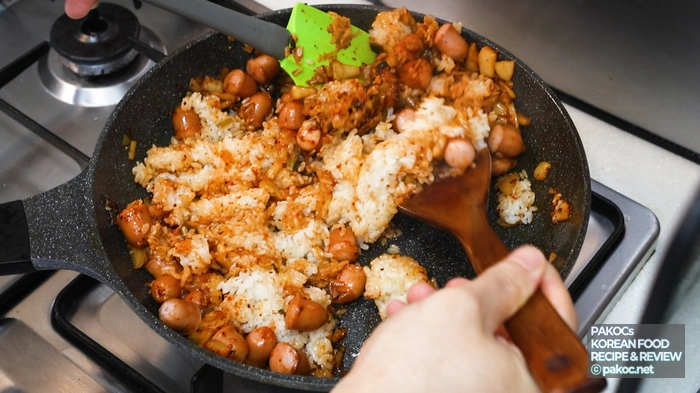
Copyright PAKOC https://pakoc.netAdd rice (about 2 microwave rice packs’ worth) to the stir-fried mixture and mix well once. Keep mixing until the rice turns evenly red.
ⓒ
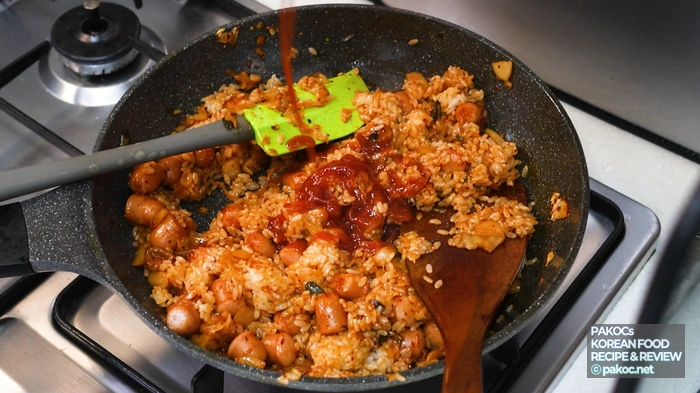
Copyright PAKOC https://pakoc.netAt the end, add 1 tbsp ketchup and finish stir-frying over low heat while mixing. The most important point is not letting it burn. Keep that in mind, then transfer the finished kimchi fried rice to a bowl and set aside briefly.
ⓒ
Copyright PAKOC https://pakoc.net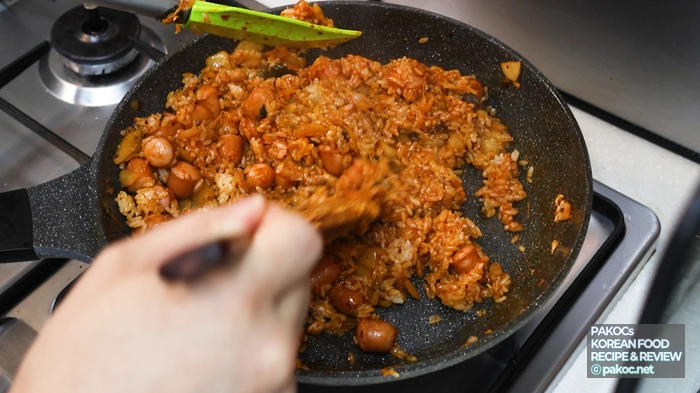
ⓒ
Copyright PAKOC https://pakoc.netSTEP 3: Make the Sweetened Condensed Milk Butter Corn Cheese
Prepare a clean frying pan. I used a 26cm pan. I’m going to make the condensed milk butter corn cheese and serve it alongside the rice. However, if you want, you can also put it on top of the kimchi fried rice like a topping. First, add 1 tbsp butter over low heat and melt it slowly.

ⓒ
Copyright PAKOC https://pakoc.netMelt the butter carefully so it doesn’t burn. When there’s just a tiny bit left unmelted, add the well-drained 150g sweet corn and stir-fry over medium heat.

ⓒ
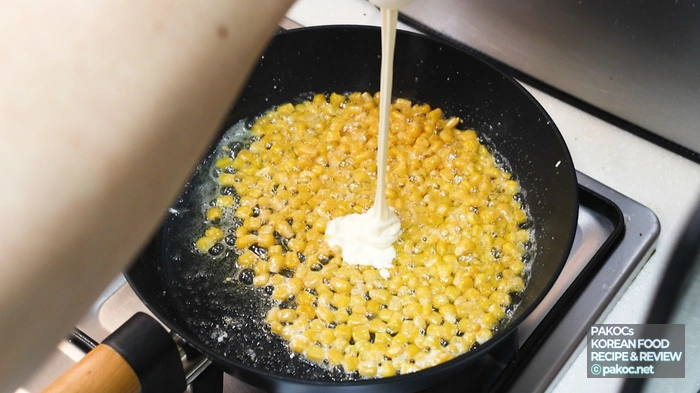
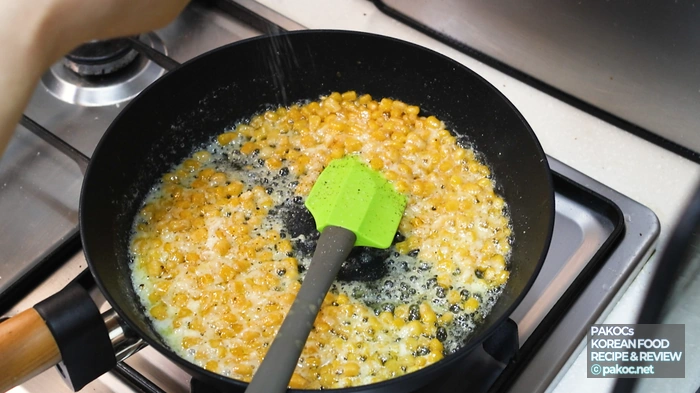
Copyright PAKOC https://pakoc.netOnce the corn is lightly browned, reduce the heat back to low. Then quickly add 2 tbsp mayonnaise, 1.5 tbsp sweetened condensed milk, and a pinch of salt and pepper. Mix well.
ⓒ
Copyright PAKOC https://pakoc.net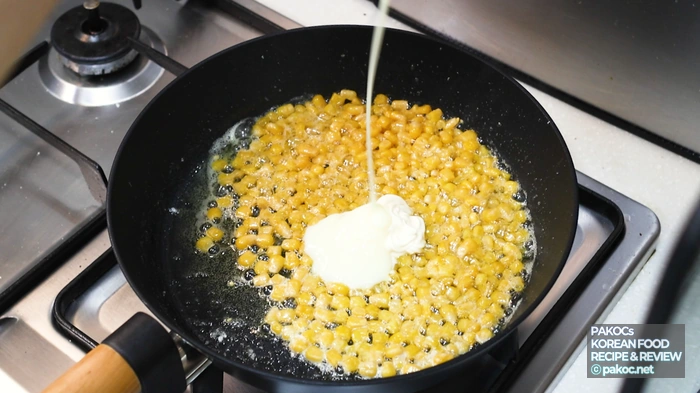
ⓒ
Copyright PAKOC https://pakoc.netSTEP 4: Melt the Mozzarella and Combine with the Fried Rice
After stir-frying everything, sprinkle about 100g mozzarella evenly and mix once. Then cover and let it melt over very low heat.
ⓒ
Copyright PAKOC https://pakoc.net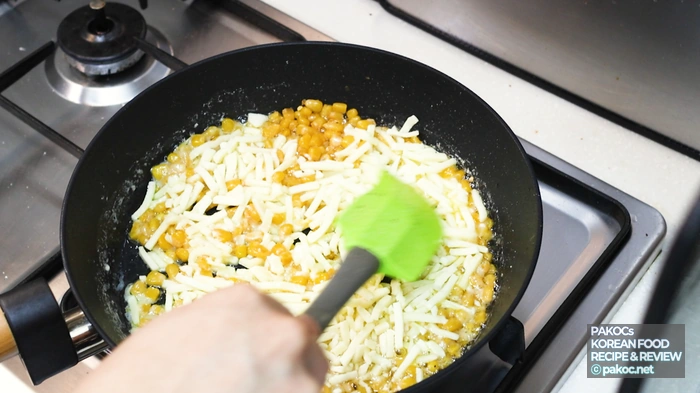
ⓒ
Copyright PAKOC https://pakoc.netNo lid. That’s fine. You can cover it with foil, as long as it doesn’t touch the flame. When the cheese is about halfway melted, mix evenly so it melts uniformly. Once fully melted, gather the condensed milk butter corn cheese to one side.
ⓒ
Copyright PAKOC https://pakoc.net
ⓒ
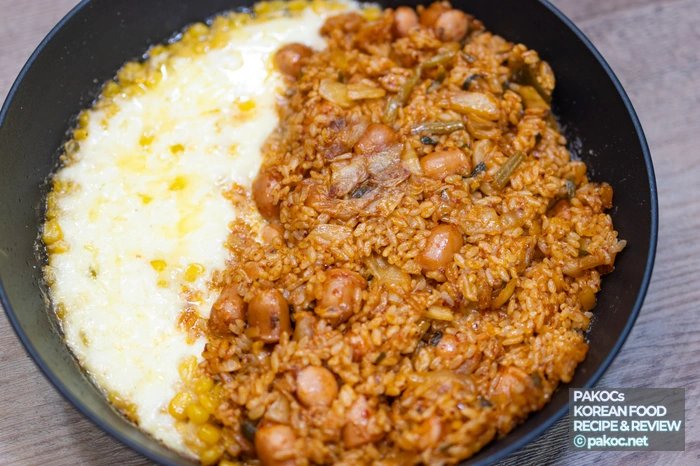
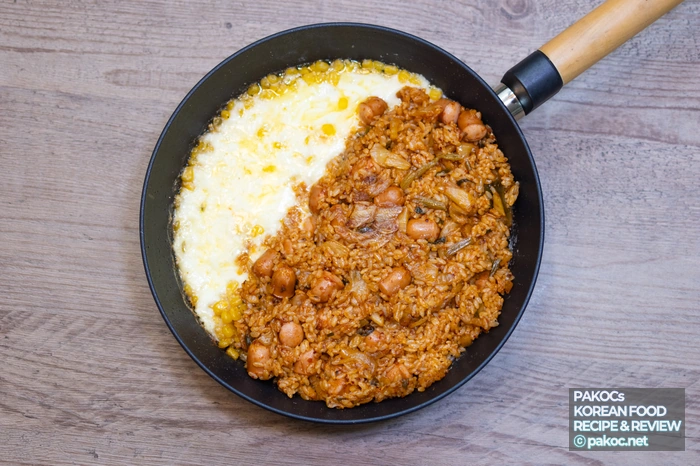
Copyright PAKOC https://pakoc.netPlace the kimchi fried rice in the remaining space in the pan. Then cover again and warm it just enough to heat through. Finish by sprinkling toasted sesame seeds and black sesame seeds over the fried rice to taste. For the corn cheese, sprinkle parsley to taste.
ⓒ
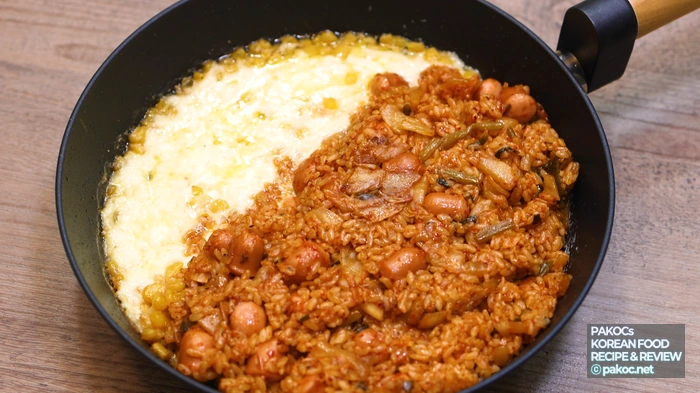
Copyright PAKOC https://pakoc.netFinished Gallery

ⓒ
Copyright PAKOC https://pakoc.net


Final Thoughts and Serving Tips
All right, here it is: Ketchup Kimchi Fried Rice & Sweetened Condensed Milk Butter Corn Cheese. Doesn’t it look gorgeous? Since this is a two-dish combo, you can switch up the cooking order depending on your pan size and preferences. You can also serve it like a topping in any way you like.
ⓒ
Copyright PAKOC https://pakoc.netYou can enjoy them separately. However, the best way is probably to eat them together. It also tastes clearly different from the usual “kimchi fried rice with cheese.”
ⓒ
Copyright PAKOC https://pakoc.net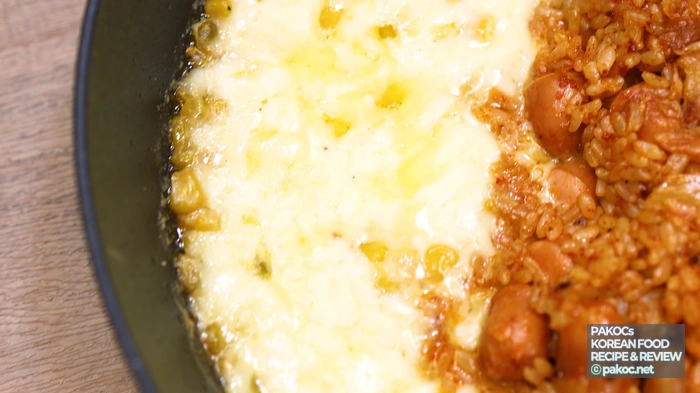
ⓒ
Copyright PAKOC https://pakoc.netOf course, even if you eat them separately, each dish has clear strengths. So, eat it exactly how you want. Also, feel free to make any variations you like. It’s a great menu either way.
ⓒ
Copyright PAKOC https://pakoc.net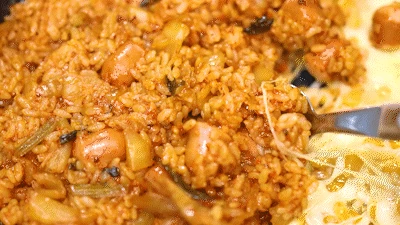
ⓒ
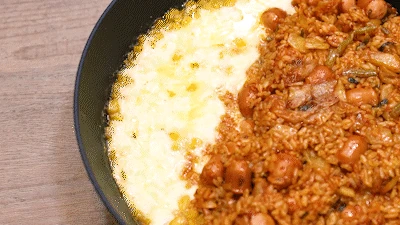
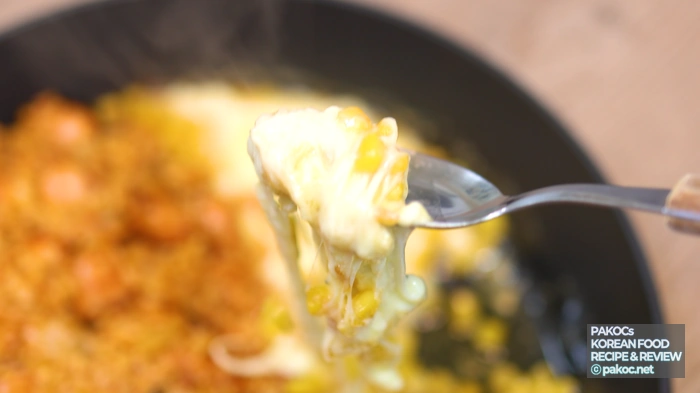
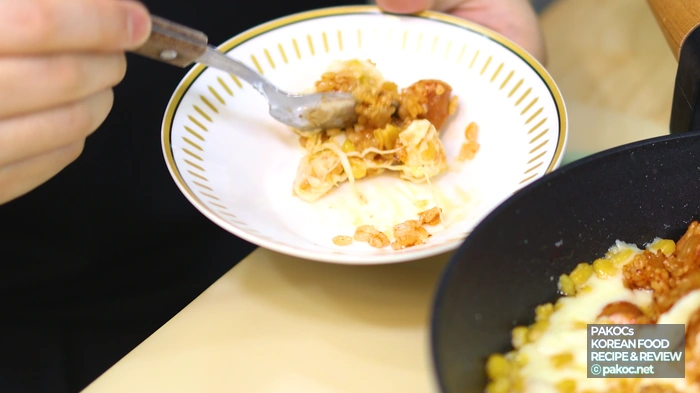
Copyright PAKOC https://pakoc.netPersonally, I love scooping up generous bites of both dishes and eating them together. Still, everyone has their own preferences. If you eat it the way you like, it’ll taste fantastic.

ⓒ
Copyright PAKOC https://pakoc.netAlso, the slightly golden-browned parts of the cheese are the real highlight. Make it easily, and enjoy it deliciously. It’s the kind of taste you won’t regret.
ⓒ
Copyright PAKOC https://pakoc.net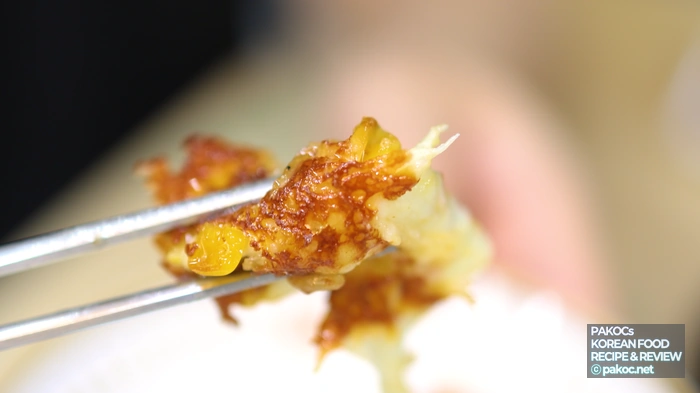
ⓒ
Copyright PAKOC https://pakoc.netFrequently Asked Questions
Q. What ingredients do I need for ketchup kimchi fried rice?
You’ll need 2 cups kimchi, a handful of Vienna sausages, 1.5 tbsp ketchup, 1 tbsp gochugaru (Korean red pepper flakes), 1 tbsp sugar, 1/2 tbsp corn syrup, and 2 servings of cooked rice. For the condensed milk butter corn cheese, prepare 150g sweet corn, 1.5 tbsp sweetened condensed milk, 2 tbsp mayonnaise, 1 tbsp butter, and 100–120g mozzarella (pizza cheese).
Q. How long does it take to cook ketchup kimchi fried rice?
About 10 minutes for prep and about 20 minutes for cooking, so 30 minutes total is plenty. Since you make the kimchi fried rice and the condensed milk butter corn cheese in order and combine them in one pan, it’s not too difficult.
Q. How do you eat condensed milk butter corn cheese with kimchi fried rice?
The tastiest way is to place them side by side in one pan and scoop up both together. However, you can also eat them separately. You can even add the corn cheese on top of the kimchi fried rice like a topping. A key point is that it tastes noticeably different from typical kimchi fried rice with cheese.
image sources
- 케첩 넣은 김치볶음밥 완성: Copyright PAKOC https://pakoc.net
- 비엔나 소시지 잘라서 준비: Copyright PAKOC https://pakoc.net
- 조리 순서 김치볶음밥: Copyright PAKOC https://pakoc.net
- 고춧가루 넣은 볶음밥 비주얼: Copyright PAKOC https://pakoc.net
- 케첩 사용한 김치볶음밥: Copyright PAKOC https://pakoc.net
- 청량한 스위트콘 볶기: Copyright PAKOC https://pakoc.net
- 버터 녹인 팬 조리: Copyright PAKOC https://pakoc.net
- 노릇노릇하게 볶은 콘치즈: Copyright PAKOC https://pakoc.net
- 소금 후추 넣은 콘치즈: Copyright PAKOC https://pakoc.net
- 비엔나 소시지 볶은 과정: Copyright PAKOC https://pakoc.net
- 볶은 참깨 김치볶음밥 토핑: Copyright PAKOC https://pakoc.net
- 맛있는 연유 버터 요리: Copyright PAKOC https://pakoc.net
- 안주 메뉴 김치볶음밥: Copyright PAKOC https://pakoc.net
- 다양한 조리법 김치볶음밥: Copyright PAKOC https://pakoc.net
- 비엔나 소시지 김치볶음밥 완성: Copyright PAKOC https://pakoc.net
- 참깨 토핑 김치볶음밥: Copyright PAKOC https://pakoc.net
- 간편한 혼밥 김치볶음밥: Copyright PAKOC https://pakoc.net
- 식사 메뉴 김치볶음밥: Copyright PAKOC https://pakoc.net
- 콘치즈 재료 준비 과정: Copyright PAKOC https://pakoc.net
- 햇반 김치볶음밥 조리 시연: Copyright PAKOC https://pakoc.net
- 김치볶음밥 맛있게 먹는 법: Copyright PAKOC https://pakoc.net
- 비엔나 소시지 혼밥 메뉴: Copyright PAKOC https://pakoc.net
- 햇반 사용한 김치볶음밥 조리: Copyright PAKOC https://pakoc.net
- 새 프라이팬 준비 과정: Copyright PAKOC https://pakoc.net
- 비엔나 소시지 김치볶음밥 재료 준비: Copyright PAKOC https://pakoc.net
- 매콤 짭짤한 케첩 김치볶음밥 완성: Copyright PAKOC https://pakoc.net
- 파슬리 가루 올린 콘치즈: Copyright PAKOC https://pakoc.net
- 연유 버터 콘치즈 조리 과정: Copyright PAKOC https://pakoc.net
- 고소하고 달달한 연유 버터 콘치즈: Copyright PAKOC https://pakoc.net
- 마요네즈 넣은 콘치즈 조리: Copyright PAKOC https://pakoc.net
- 김치볶음밥 홈파티 메뉴: Copyright PAKOC https://pakoc.net
- 스위트콘 물기 제거 과정: Copyright PAKOC https://pakoc.net
- 비엔나 소시지 볶음 과정 사진: Copyright PAKOC https://pakoc.net
- 고춧가루 넣은 볶음밥 조리: Copyright PAKOC https://pakoc.net
")


