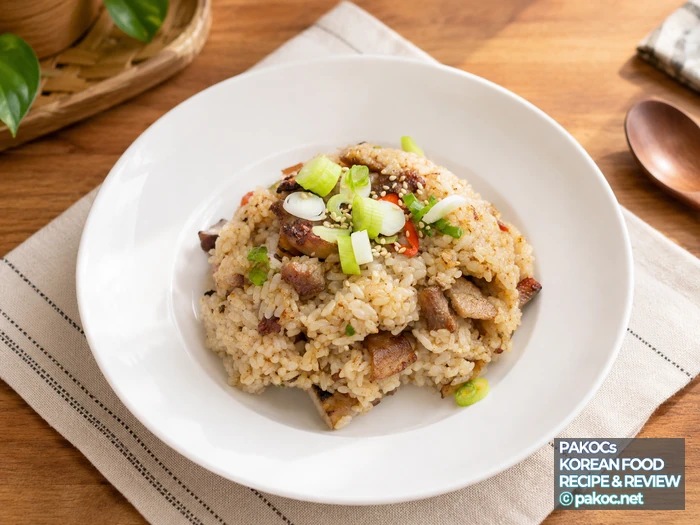
Hello! Today’s recipe is samgyeopsal myeolchijeot fried rice. At a Korean BBQ place, you’ve probably finished a meal with fried rice given a big umami kick from a splash of myeolchijeot (salted anchovy sauce), right? With this recipe, you can recreate that exact BBQ-joint taste at home. The savory umami and aroma of the anchovy sauce mingle with the pork belly for a flavor that puts a smile on your face. So let’s dive into the recipe.
📋 At a Glance
- Dish: Samgyeopsal Myeolchijeot Fried Rice
- Category: Fried rice / One-bowl meal
- Servings: 2
- Main ingredients: Pork belly, rice, salted anchovy sauce (myeolchijeot), garlic, green and red chili, green onion
- Cookware: Frying pan
- Time: 10 min prep + 15 min cooking
- Difficulty: Easy
- Tip: Fry garlic and chili in the rendered pork-belly fat, then stir-fry with the anchovy sauce for deep umami
What Goes into This Fried Rice
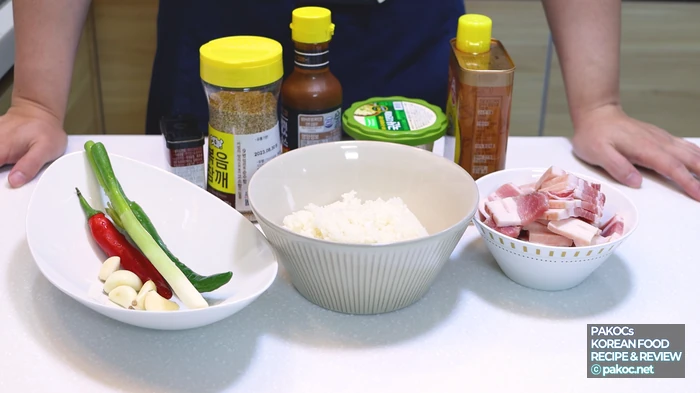
Unlike the usual approach of frying only rice, anchovy sauce, and a few vegetables, today’s recipe adds pork belly directly, which makes it genuinely good as a full meal. Instead of cooking oil, you use the fat rendered from searing the pork belly to fry garlic and chili, then stir-fry everything with rice and the myeolchijeot sauce. It’s a simple recipe. Shall we check the ingredients?
ⓒ
Copyright PAKOC https://pakoc.net[Ingredients for 2 Servings]
- Pork belly 150–200 g
- Garlic 4 cloves
- Red chili 1
- Green chili 1
- Firm, dry-cooked rice 2 bowls
- Myeolchijeot (salted anchovy) sauce 2 Tbsp
- Minced garlic 1/2 Tbsp
- Sesame oil 0.5–1 Tbsp
- Green onion, a little
- Black pepper, a little
- Toasted sesame seeds, a pinch
- Seasoned salt, a little
[Recipe at a Glance]
- Cut 200 g of pork belly into pieces sized well for fried rice. Rather than chopping too finely, cut them to a size that keeps a nice bite.
- Mince or slice the garlic, cut the red and green chili on the diagonal, and lightly mince or diagonally slice the green onion.
- Sear the pork belly in a pan with no added oil. Start on high heat and adjust to medium, sprinkle a little black pepper, and at the end add 1/2 Tbsp of minced garlic and fry together.
- Once the pork is nearly done, add the sliced garlic and chili you prepared and give it one good, quick stir-fry.
- Add 2 bowls of firm rice and stir-fry well with the pork and vegetables. Add 0.5–1 Tbsp of sesame oil and 2 Tbsp of myeolchijeot sauce and fry for 3–5 minutes. If it needs more seasoning, add just a little seasoned salt.
- Plate it, then finish with green onion and toasted sesame seeds.
🍳 If too much fat renders out, wipe it lightly with a paper towel!
🧄 When adding the myeolchijeot sauce, rather than pouring it straight over the rice, clear a space in the pan, pour it there, let it bubble briefly, then stir-fry for even better flavor.
🥢 Two tablespoons of myeolchijeot sauce can taste a bit mild, so you can dip the meat in extra sauce or sprinkle a little salt.
🥩 Prep time: 10 minutes
🍳 Cooking time: 15 minutes
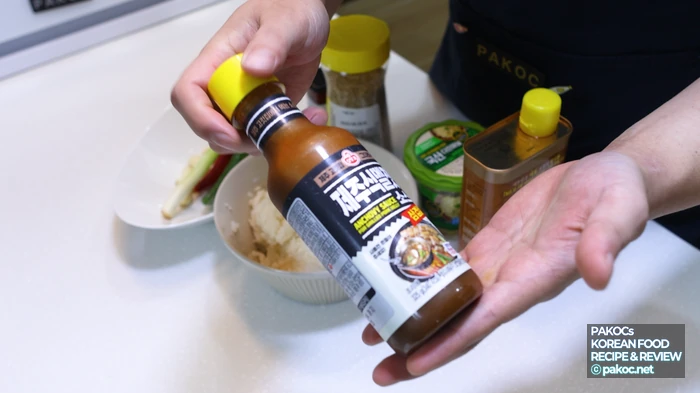
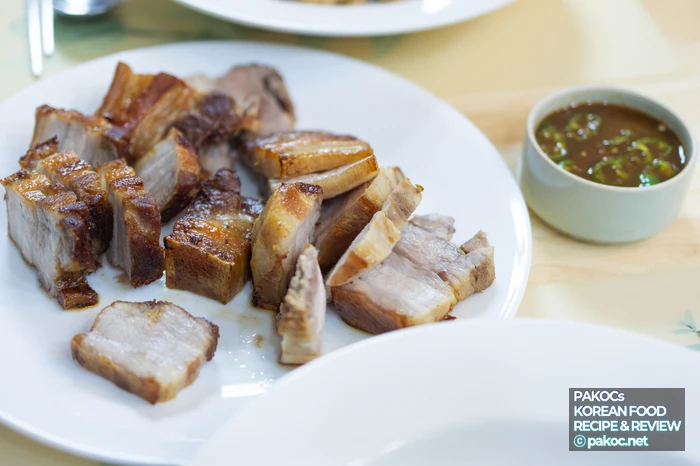
Use whichever myeolchijeot sauce you like! These days there are plenty of store-bought versions, so it’s easy to find at the market, and an inexpensive one works fine. You could buy about 400 g of pork belly, use 200 g for the fried rice and grill the other 200 g to enjoy alongside. It makes a really solid single meal! Scoop out 2 bowls of rice ahead of time and let them cool slightly at room temperature.
ⓒ
Copyright PAKOC https://pakoc.net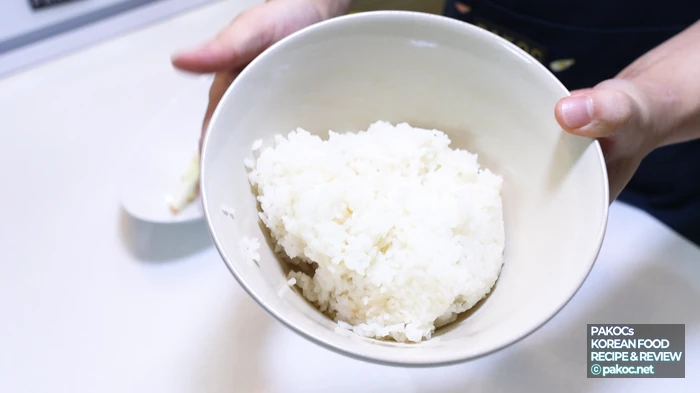
ⓒ
Copyright PAKOC https://pakoc.netPrepping the Ingredients
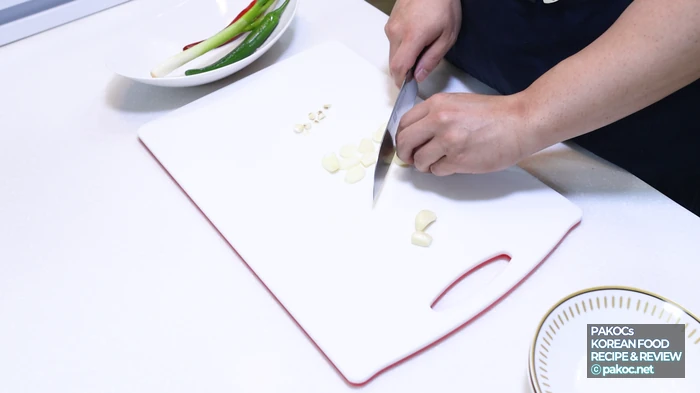
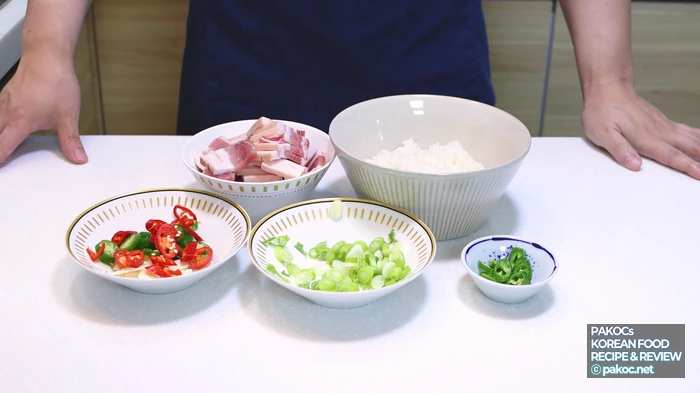
Now let’s start the prep. I bought pork belly already pre-cut for grilling, 200 g of it. Cut it to whatever size you like, one that works well for fried rice. I like big chunks, so I used the large pre-portioned pieces as they were. Mince or slice the garlic. Prepping it as slices gives a nice bite! Lightly mince the green onion, or slice it on the diagonal too.
ⓒ
Copyright PAKOC https://pakoc.net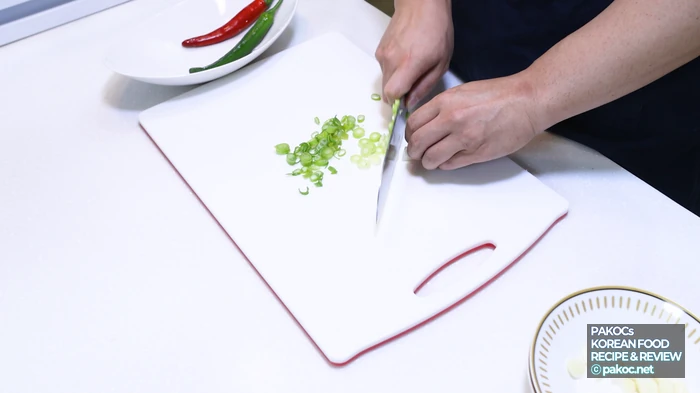
ⓒ
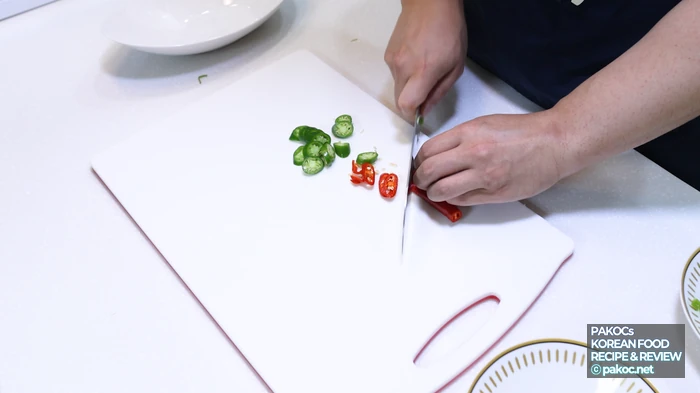
Copyright PAKOC https://pakoc.netCut the red and green chili on the diagonal! If you’re thinking about texture, you can seed them and mince them finely. And if you care about the look, set aside just a little to use as a topping at the end.
ⓒ
Copyright PAKOC https://pakoc.net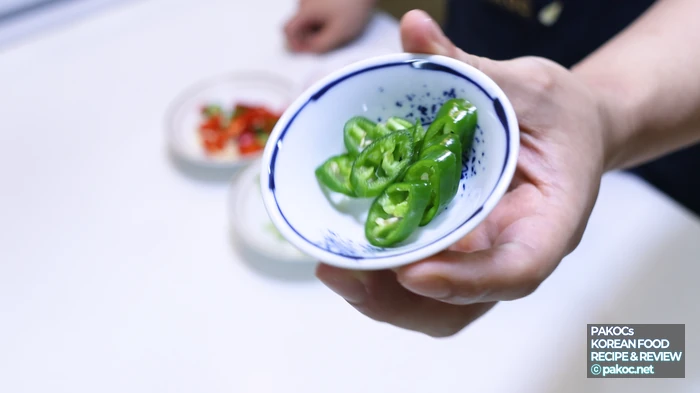
ⓒ
Copyright PAKOC https://pakoc.netAnd with that, the prep is quickly done! For reference, the green and red chili are there to add a bit of color and a mild kick, so prepare that part to your taste. If you want it spicier, cheongyang chili works well too!
ⓒ
Copyright PAKOC https://pakoc.netHow to Make It
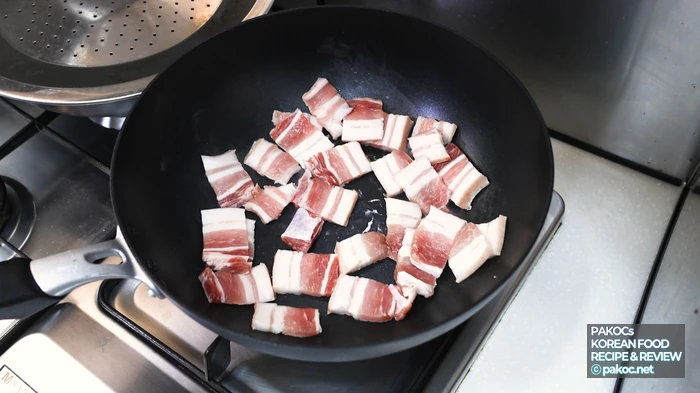
Now let’s get straight into cooking. First, get a fairly wide frying pan ready! Start searing the pork belly on high heat. You don’t need to add any oil. Once the meat starts to cook, begin on high and gradually switch to medium, cooking the pork belly so it doesn’t burn. While the pork cooks, you can give it a light touch of black pepper on top.
ⓒ
Copyright PAKOC https://pakoc.net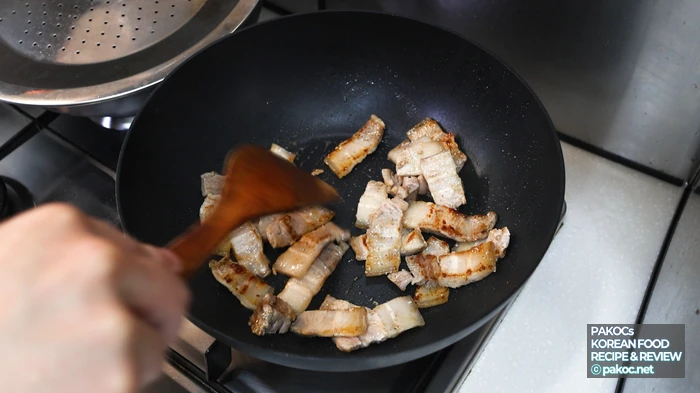
ⓒ
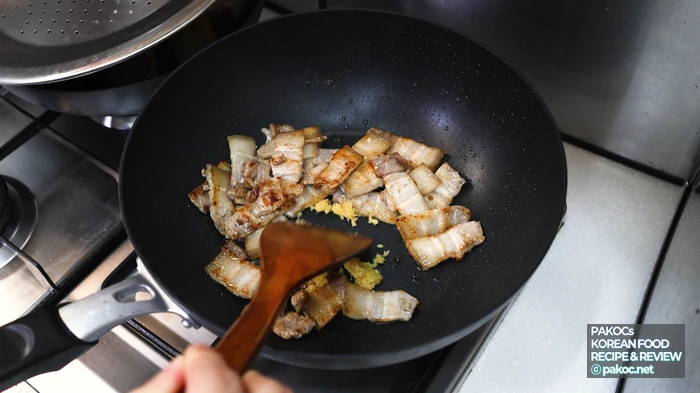
Copyright PAKOC https://pakoc.netOnce the meat starts cooking, quite a bit of fat will render out. If it feels like too much, wipe some off lightly with a paper towel, but it’s best to leave a generous amount behind. When the meat is fully cooked, add 1/2 Tbsp of minced garlic at the end and stir-fry together just briefly.
ⓒ
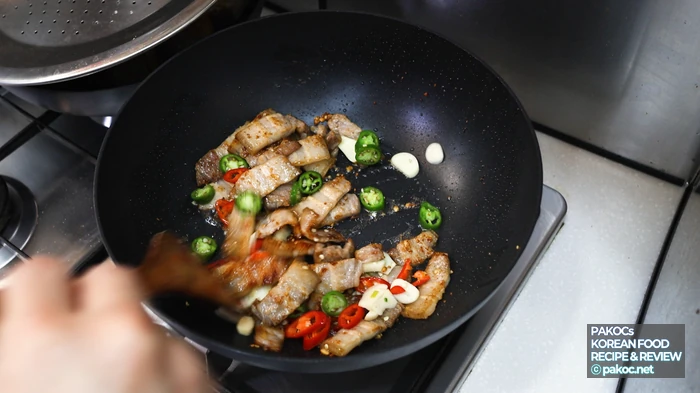
Copyright PAKOC https://pakoc.netNext, add the prepared sliced garlic and green-and-red chili slices and give it one good, quick stir-fry. As the garlic and chili fry in the pork-belly fat, the aroma is really something! There’s already plenty of aromatic scent from the chili and garlic, but you can add green onion too if you like. Once the vegetables are lightly cooked, add the 2 bowls of firm, cooled rice and stir-fry well with the pork and vegetables. Spread the rice out so it doesn’t clump.
ⓒ
Copyright PAKOC https://pakoc.net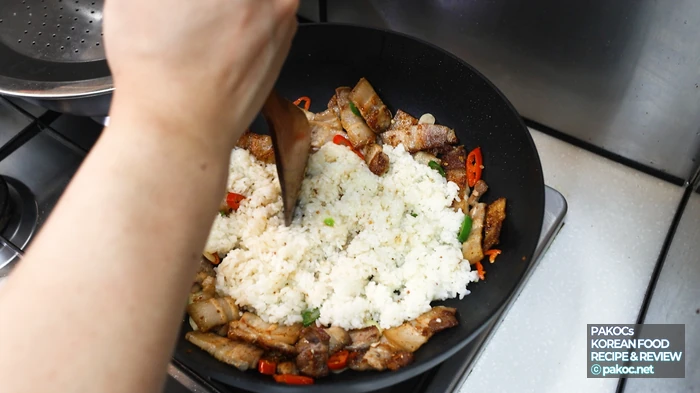
ⓒ
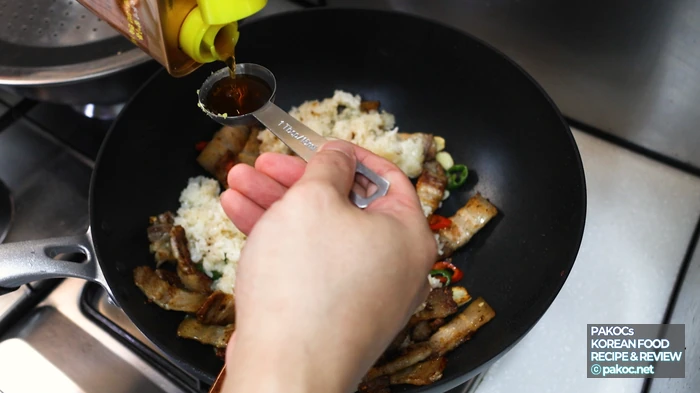
Copyright PAKOC https://pakoc.netOnce the rice and ingredients are fairly mixed, make a space in the center and add 0.5–1 Tbsp of sesame oil and 2 Tbsp of myeolchijeot sauce, then stir-fry together. Three to five minutes should be plenty! For reference, rather than pouring the myeolchijeot sauce straight over the rice, clear a space in the pan, pour it there, let it bubble briefly on high heat, then stir-fry for even better flavor.
ⓒ
Copyright PAKOC https://pakoc.net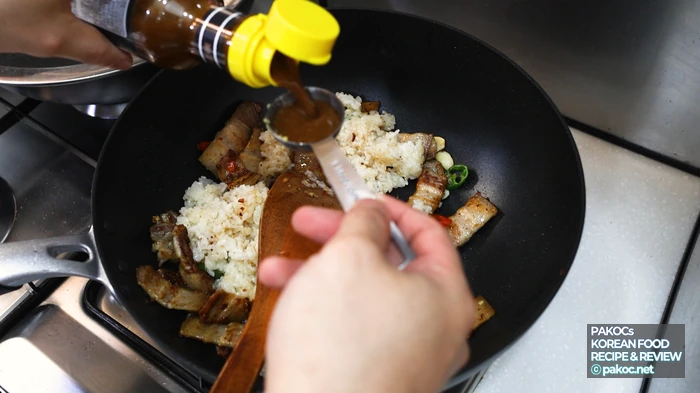
ⓒ

Copyright PAKOC https://pakoc.netNow all that’s left is to mix the anchovy sauce, rice, and ingredients well! Check the seasoning at the end, too. Depending on your myeolchijeot, the taste can be a little mild, so at this point mix in some gim (seaweed) flakes to taste, or simply sprinkle a bit of seasoned salt to adjust.
ⓒ
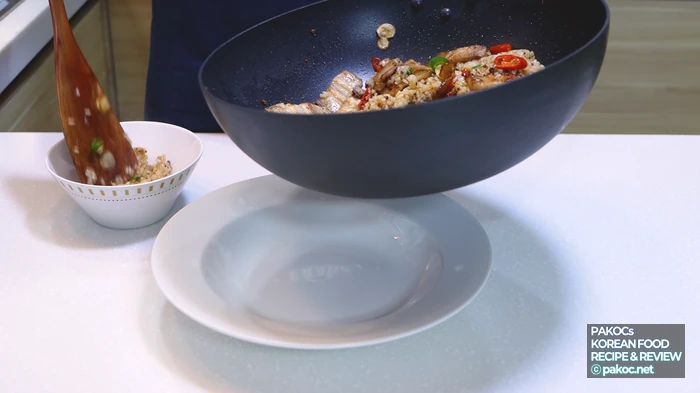
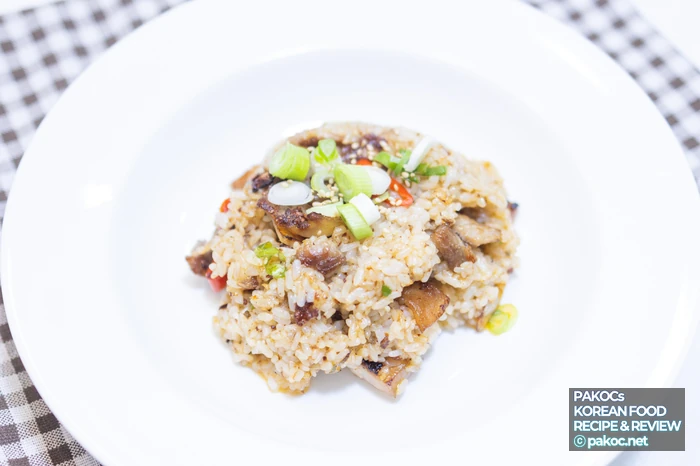
Copyright PAKOC https://pakoc.netServe the finished fried rice in a suitable bowl! I first packed the fried rice into a rice bowl, then flipped it out onto a wide plate like this. Press it down firmly and it’ll mold together nicely.
ⓒ
Copyright PAKOC https://pakoc.net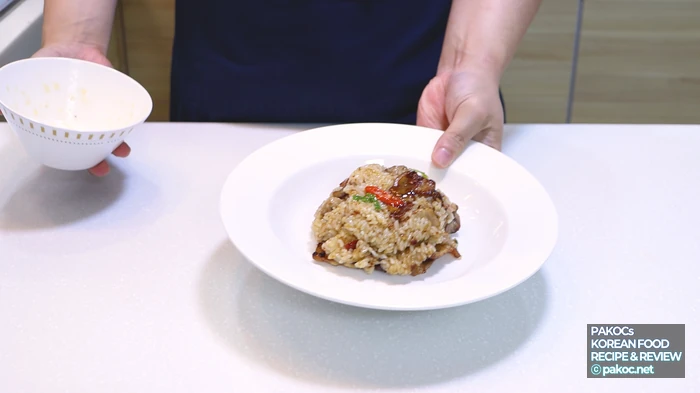
ⓒ
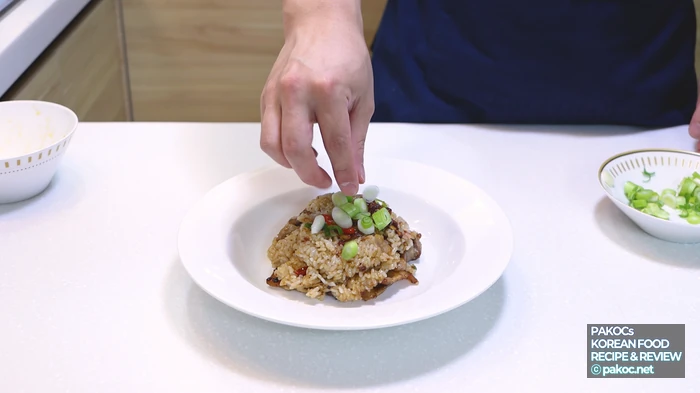
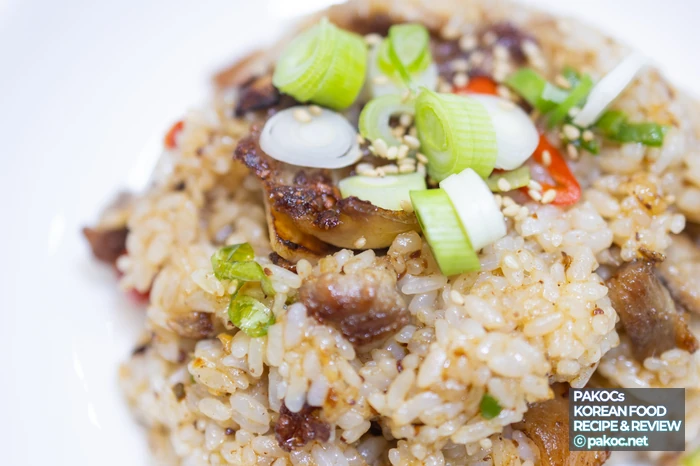
Copyright PAKOC https://pakoc.netFinally, I finished it off with green onion, the green and red chili I’d set aside, and toasted sesame seeds sprinkled on top. Sprinkling on some gim flakes is really nice too, if you like!
ⓒ
Copyright PAKOC https://pakoc.net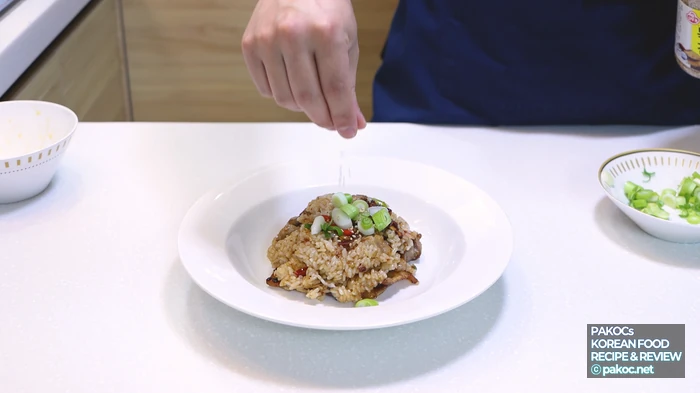
ⓒ
Copyright PAKOC https://pakoc.netFinished Dish Gallery
ⓒ
Copyright PAKOC https://pakoc.net
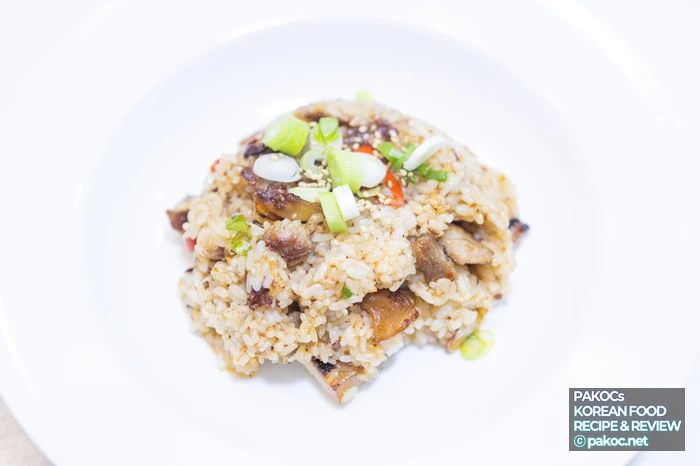

The Finished Pork Belly Fried Rice
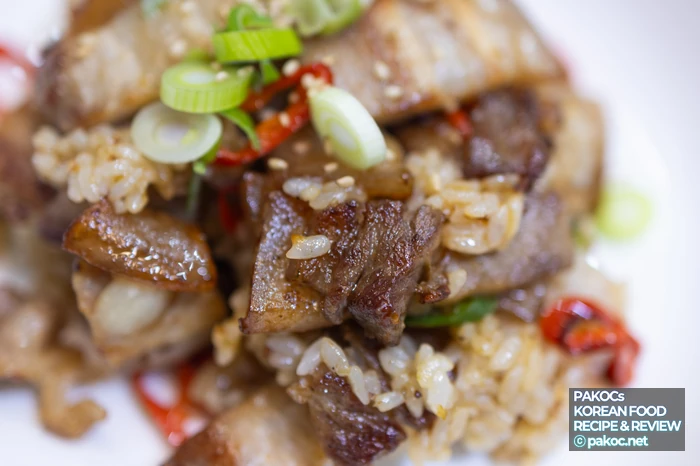
And there you have it, the finished samgyeopsal myeolchijeot fried rice. The savory umami and aroma of the anchovy sauce mingle with the pork belly fat for a genuinely nutty, delicious taste! It’s not as hard to make as you might think, and it makes a really solid single meal.
ⓒ
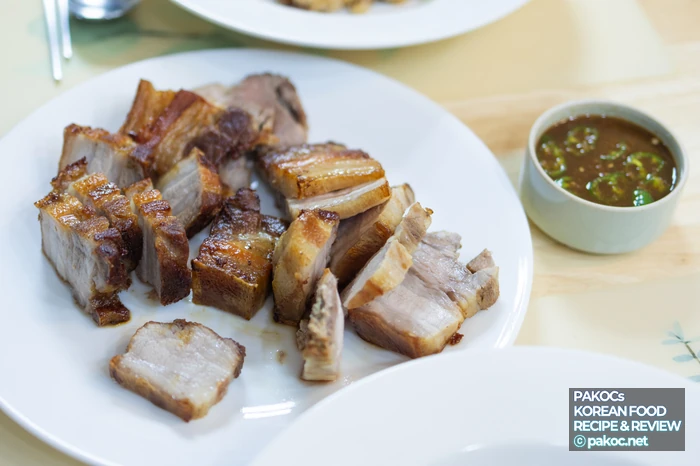

Copyright PAKOC https://pakoc.netGrill up some tasty pork belly for a weekend lunch or dinner, then simply stir-fry the leftover pork belly for a hearty treat! As I mentioned earlier, if you buy around 400 g of pork belly, you can grill 200 g separately to enjoy on the side. It’s especially great when you go camping, grill some meat, and end up with an awkward bit of leftover meat and instant rice, so try making this then. It’s a taste you won’t regret.
ⓒ
Copyright PAKOC https://pakoc.net
ⓒ
Copyright PAKOC https://pakoc.netIf you’re curious about the background of this dish, you can also read about bokkeum-bap (Korean fried rice) in Wikipedia’s Bokkeum-bap entry.
Frequently Asked Questions
Q. What ingredients do I need for samgyeopsal myeolchijeot fried rice?
For two servings, the core is 150–200 g of pork belly, 2 bowls of firm rice, and 2 Tbsp of myeolchijeot sauce. Add to that 4 cloves of garlic, green and red chili, 1/2 Tbsp of minced garlic, sesame oil, green onion, black pepper, toasted sesame seeds, and seasoned salt.
Q. How long does this pork belly fried rice take?
It takes about 25 minutes in total: 10 minutes of prep and 15 of cooking. You just fry garlic and chili in the rendered pork-belly fat, then add rice and myeolchijeot sauce and stir-fry for 3–5 minutes. A simple process.
Q. Where can I get myeolchijeot sauce?
Store-bought myeolchijeot (salted anchovy) sauce is easy to find at Korean markets these days. An inexpensive one is plenty, and if you want it spicier, adding cheongyang chili works well.
Q. Any tips for making it tastier?
Rather than pouring the anchovy sauce straight over the rice, clear a spot in the pan, add it there, and let it bubble briefly on high heat before stir-frying, which deepens the flavor. If it tastes mild, adjust with gim flakes or seasoned salt, and buying 400 g of pork belly so you can grill half on the side makes it more filling.
Youtube
image sources
- 조리시간 분 삼겹살 볶음밥: Copyright PAKOC https://pakoc.net
- 풍미가 좋은 볶음밥 완성: Copyright PAKOC https://pakoc.net
- 부드러운 삼겹살 조리 사진: Copyright PAKOC https://pakoc.net
- 매콤한 맛의 볶음밥 사진: Copyright PAKOC https://pakoc.net
- 멜젓 소스 특별한 맛: Copyright PAKOC https://pakoc.net
- 고기와 밥의 조화로운 맛: Copyright PAKOC https://pakoc.net
- 간단한 조리법 삼겹살 볶음밥: Copyright PAKOC https://pakoc.net
- 삼겹살 볶음밥 조리 사진: Copyright PAKOC https://pakoc.net
- 구수한 멜젓 소스 특징: Copyright PAKOC https://pakoc.net
- 볶음밥 완성 모습 사진: Copyright PAKOC https://pakoc.net
- 마늘 고추 넣은 볶음밥: Copyright PAKOC https://pakoc.net
- 볶은 참깨 마무리 사진: Copyright PAKOC https://pakoc.net
- 간편한 식사 삼겹살 사진: Copyright PAKOC https://pakoc.net
- 삼겹살 구이 조리 과정: Copyright PAKOC https://pakoc.net
- 멜젓 소스 만드는 법 이미지: Copyright PAKOC https://pakoc.net
- 쉽게 만드는 삼겹살 요리: Copyright PAKOC https://pakoc.net
- 맛소금 조절 방법 이미지: Copyright PAKOC https://pakoc.net
- 색깔 아름다운 볶음밥 사진: Copyright PAKOC https://pakoc.net
- 청홍고추 사용 볶음밥 이미지: Copyright PAKOC https://pakoc.net
- 밥 꼬들하게 조리된 사진: Copyright PAKOC https://pakoc.net
- 입맛 사로잡는 볶음밥 사진: Copyright PAKOC https://pakoc.net
- 식사 후기 멜젓 볶음밥 사진: Copyright PAKOC https://pakoc.net
- 아삭한 고추 볶음밥 재료: Copyright PAKOC https://pakoc.net
- 삼겹살 멜젓 볶음밥 완성사진: Copyright PAKOC https://pakoc.net