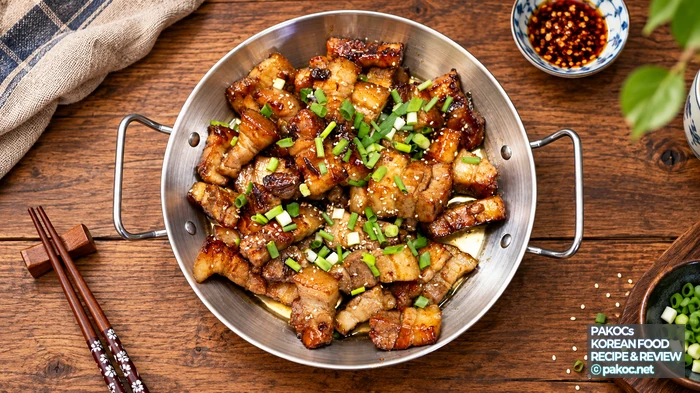
Pork belly is the cut Koreans love most, and this recipe gives it a Chinese-inspired twist. Today I’m making Chinese-Style Pork Belly stir-fry. The pork is first simmered with ginger and garlic until tender, then seared golden and coated in a sweet, spicy, sticky Chinese-style sauce. It comes out crisp on the outside and juicy inside, with that savory sauce soaked right through. It’s easier to make than it looks, and it works as a drinking snack, as a main, or piled on egg fried rice as a rice bowl. Let’s get into it.
📋 At a Glance
- Dish: Chinese-Style Pork Belly Stir-Fry
- Type: Chinese-inspired pork dish (drinking snack, main or rice bowl)
- Yield: based on 1kg of pork belly
- Main ingredients: 1kg pork belly, ginger, garlic, chicken stock, soy sauce, oyster sauce, honey, dark brown sugar, five-spice powder
- Tools: a pot, a frying pan, paper towels
- Time: 15 minutes prep + 1 hour cooking (simmering and searing)
- Difficulty: easy — three stages: simmer, sear, glaze
- Key point: pat the boiled pork completely dry, and let the pan cool on medium-low before the sauce goes in
Ingredients for Chinese-Style Pork Belly
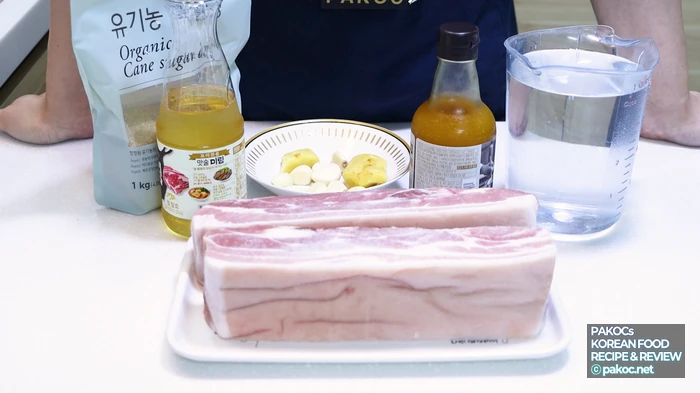
This recipe comes down to three stages: simmering, searing and glazing. Neither the prep nor the cooking is difficult, so anyone can follow along at home. While getting the ingredients ready, I first washed the garlic and ginger. I trimmed just the tips of the garlic cloves and peeled the ginger ahead of time. Scraping the ginger skin off with a spoon makes the job much easier.
ⓒ
Copyright PAKOC https://pakoc.net[Ingredients for 1kg of Pork Belly]
- 1kg pork belly
- 1L water
- 1 knob of ginger
- 12 garlic cloves (including 4 for slicing)
- 2 tbsp chicken stock powder
- 2 tbsp sugar
- 1 tbsp mirin-style cooking wine
- 2 tbsp cooking oil
- A little black pepper
- A few scallions
- Toasted sesame seeds (optional)
[Sauce Ingredients]
- A pinch each of salt and pepper
- 2 tsp ground ginger
- A little minced Cheongyang chili (Korean hot green chili)
- 2 tbsp honey
- 4 tbsp dark brown sugar (2 tbsp for simmering + 2 tbsp for the sauce)
- 3 tbsp soy sauce
- 1 tbsp oyster sauce
- 1 tbsp lemon juice
- A little sliced garlic
- 1 tsp five-spice powder
[Recipe Summary]
- Cut the 1kg of pork belly into pieces that fit easily in your pot.
- Put the pork in the pot with 1L water, 2 tbsp chicken stock, 2 tbsp sugar, 1 tbsp cooking wine, 1 knob of ginger and 8 garlic cloves, and simmer over medium heat for about 40 minutes.
- Make the sauce while the pork cooks. Mix a pinch each of salt and pepper, 2 tsp ground ginger, minced Cheongyang chili, 2 tbsp honey, 2 tbsp dark brown sugar, 3 tbsp soy sauce, 1 tbsp oyster sauce, 1 tbsp lemon juice, the sliced garlic and 1 tsp five-spice powder.
- Start the pork over high heat, then turn it down to medium once it comes to a boil.
- Lift out the cooked pork belly, pat it thoroughly dry with paper towels and cut it into bite-size pieces.
- Heat 2 tbsp oil in a frying pan over high heat, add the pork, season with pepper and sear until golden.
- Lower the heat to medium-low, let the pan cool for a moment, then pour in the sauce and let it reduce.
- Finish with scallions and toasted sesame seeds. It’s also great served over egg fried rice.
🍖 Press the boiled pork belly thoroughly dry with paper towels. That way it won’t spatter in the pan and the outside browns nicely!
🧄 Always turn the heat down to medium-low and let the pan cool briefly before adding the sauce. With honey and soy sauce in it, the sauce burns in seconds on a very hot pan.
🍱 For more heat, stir 1 tbsp of doubanjiang into the sauce for a spicier Chinese-style kick!
🥚 Served on top of egg fried rice, it makes a complete meal.
💧 If the sauce gets too thick, loosen it with 1 tbsp of water.
🥩 Prep time: 15 minutes
🍳 Cooking time: 1 hour (simmering + cooking)
Prepping the Ingredients
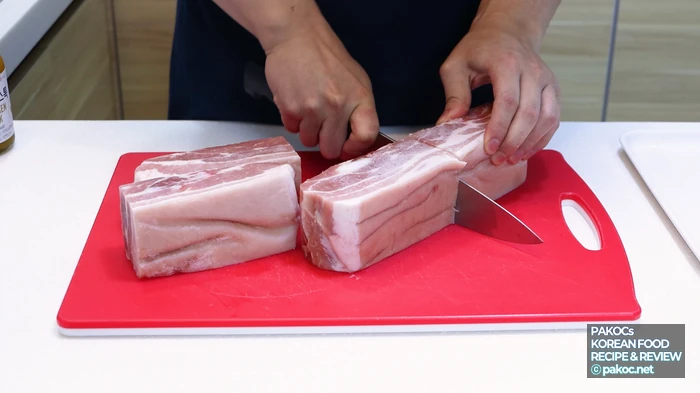
Let’s start the prep. I used a big block of frozen pork belly, 1kg in total. Since it gets cut again after simmering, just cut it into pieces that fit comfortably in your pot. If you’re using frozen pork like me, make sure it’s fully thawed first.
ⓒ
Copyright PAKOC https://pakoc.net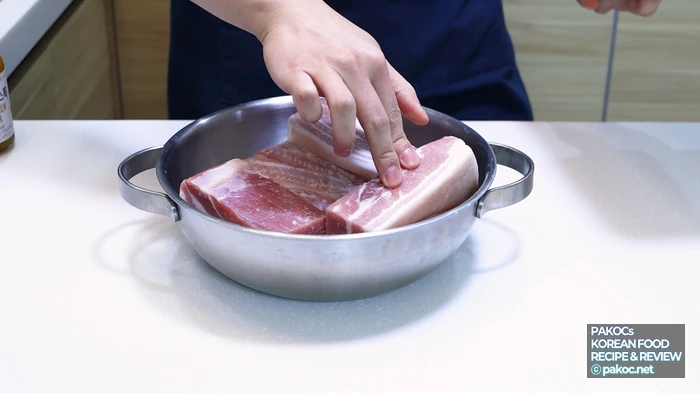
ⓒ
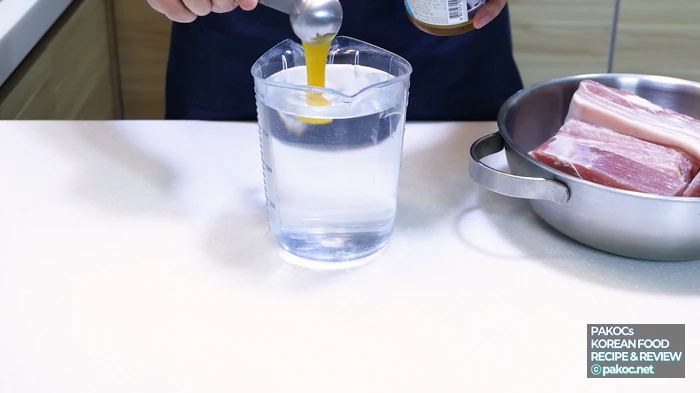
Copyright PAKOC https://pakoc.netNext, get the simmering liquid ready. Add 2 tbsp chicken stock, 1 tbsp cooking wine and 2 tbsp dark brown sugar to 1L of water and stir well. You don’t have to mix this separately like I did; it can all go straight into the pot. My pot was already full, so I mixed it in advance.
ⓒ
Copyright PAKOC https://pakoc.net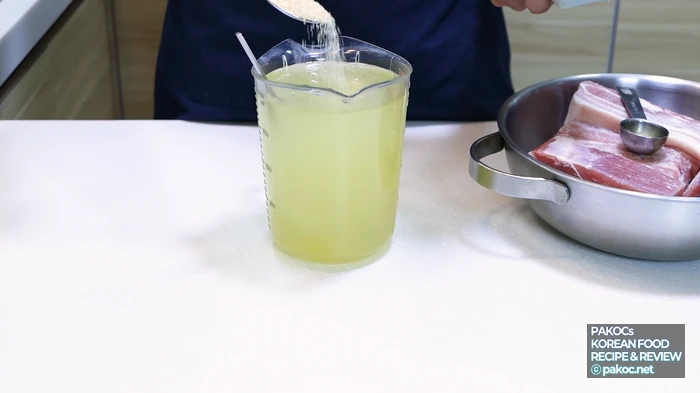
ⓒ
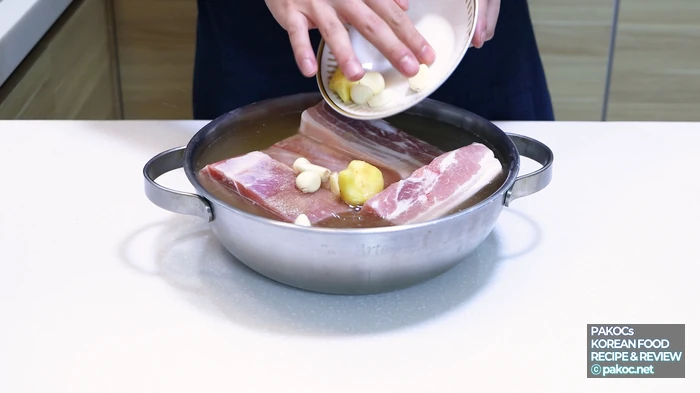
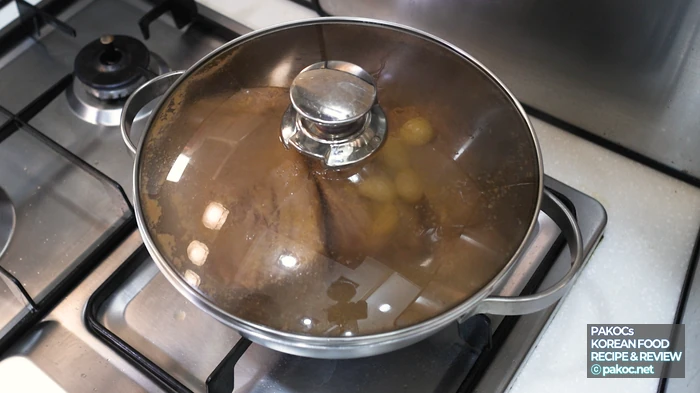
Copyright PAKOC https://pakoc.netAdd the knob of ginger and 8 to 10 whole garlic cloves, and start simmering right away. Begin over high heat, and once it boils, lower the heat to medium-low and simmer for about 40 minutes. Adjust the time to the thickness of the meat. Just don’t overdo it, or the pork will fall apart. Thanks to the aromatic broth, any gamey smell disappears and the meat turns tender all the way through.
ⓒ
Copyright PAKOC https://pakoc.net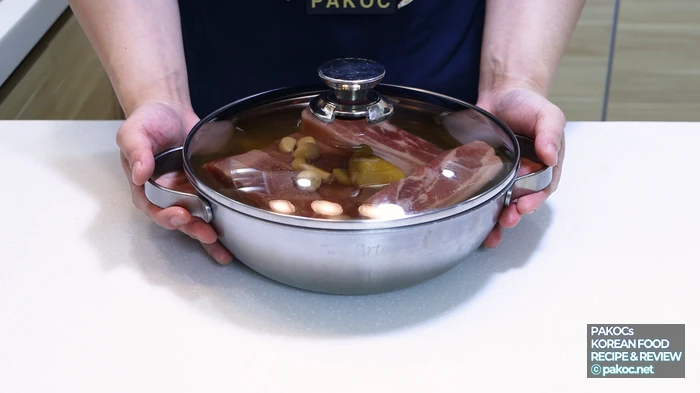
ⓒ
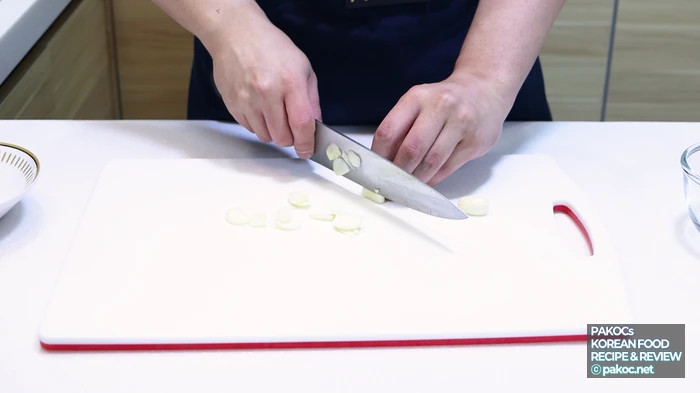
Copyright PAKOC https://pakoc.netSlice the remaining garlic, which goes into the sauce later. I used Cheongyang chilies that I had minced and frozen ahead of time. If yours are fresh, mince them now as well.
ⓒ
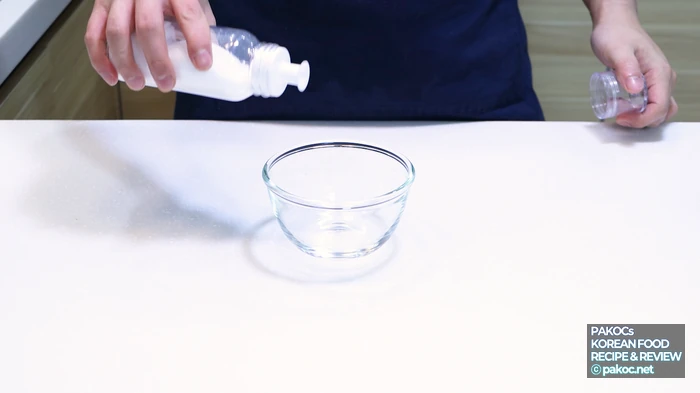
Copyright PAKOC https://pakoc.netMaking the sauce while the pork simmers saves time. In one bowl, combine a pinch each of salt and pepper, 2 tsp ground ginger, a little finely minced Cheongyang chili, 2 tbsp honey, 2 tbsp dark brown sugar, 3 tbsp soy sauce, 1 tbsp oyster sauce, 1 tbsp lemon juice, the sliced garlic and 1 tsp five-spice powder. Mix well, and the prep is done. Simple, right?
ⓒ
Copyright PAKOC https://pakoc.net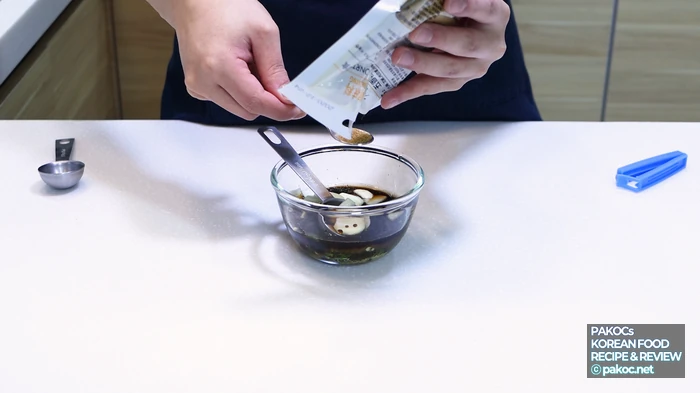
ⓒ
Copyright PAKOC https://pakoc.netHow to Cook the Pork Belly
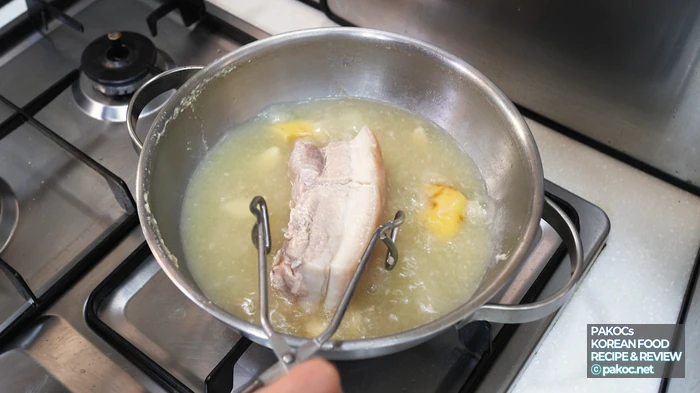
Now for the cooking. Even with thick frozen pork belly like mine, 40 minutes should be plenty. Once the meat is cooked through, lift it out onto a tray or plate.
ⓒ
Copyright PAKOC https://pakoc.net
ⓒ
Copyright PAKOC https://pakoc.netDry the Pork and Cut It into Bite-Size Pieces
Press the pork thoroughly with paper towels to remove the moisture. Any water left on the surface makes the oil spatter and keeps the outside from browning properly.
ⓒ
Copyright PAKOC https://pakoc.net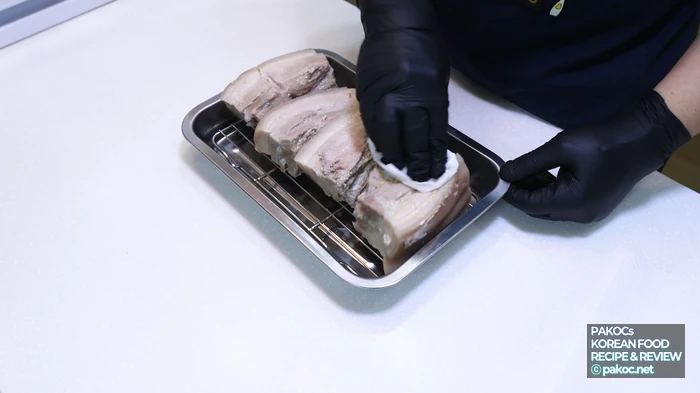
ⓒ
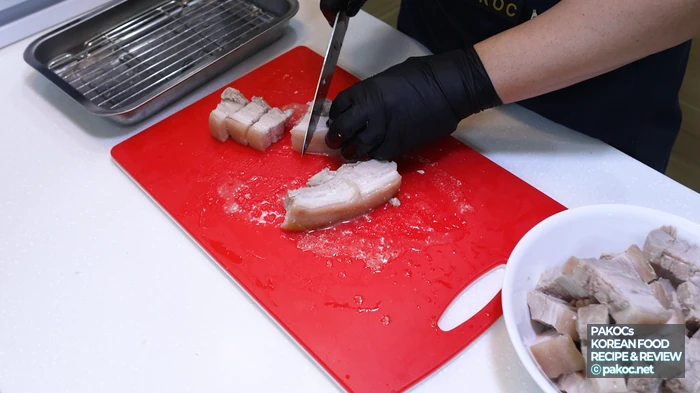
Copyright PAKOC https://pakoc.netBefore the pork goes into the frying pan, cut it into bite-size pieces. If there are any bones, this is the time to remove them. The meat should be almost fully cooked, but it gets another round in the pan, so don’t worry if it’s still a little pink.
ⓒ
Copyright PAKOC https://pakoc.netSear Over High Heat Until Golden
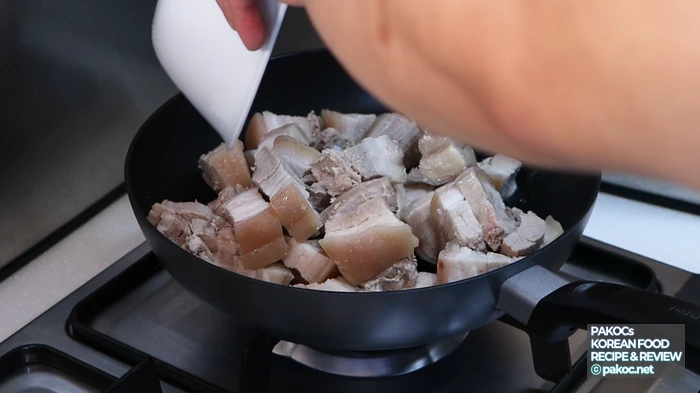
On to the pan. Add 2 tbsp of oil to a frying pan and swirl it to coat evenly. Heat the pan over high heat, then add the sliced pork belly and sprinkle with a little pepper.
ⓒ
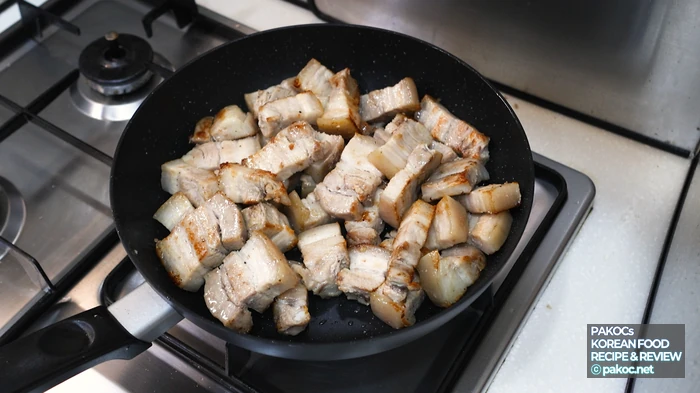
Copyright PAKOC https://pakoc.netKeep the heat on high. The meat is already cooked, so there’s nothing to worry about. Sear it just short of burning, long enough for the surface moisture to evaporate and the outside to turn golden fast. The inside is done, so focus on color. A splatter guard like the one I used makes this step much easier.
ⓒ
Copyright PAKOC https://pakoc.net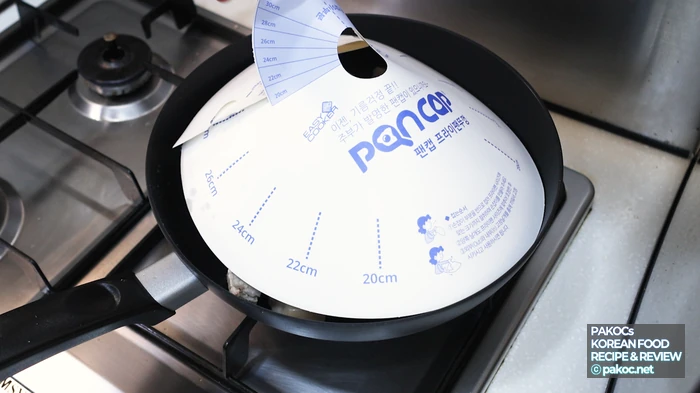
ⓒ
Copyright PAKOC https://pakoc.netAdd the Sauce Over Medium-Low Heat
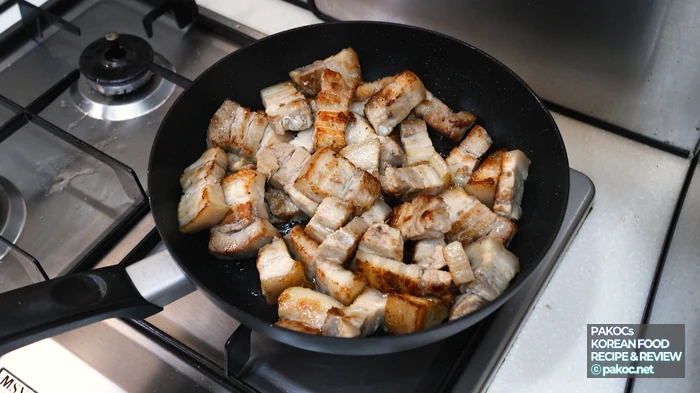
Once the pork is nicely browned, lower the heat to medium-low and let the pan cool for a moment. If the sauce hits a very hot pan, the honey and soy sauce will burn almost instantly. When the pan has cooled a bit, pour in the sauce you made earlier and toss the pork as it reduces.
ⓒ
Copyright PAKOC https://pakoc.net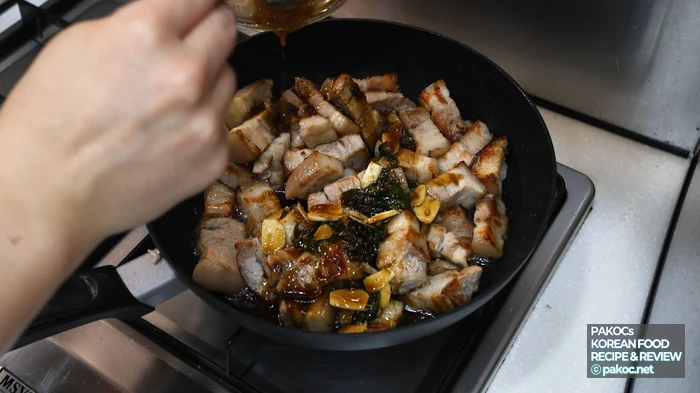
ⓒ
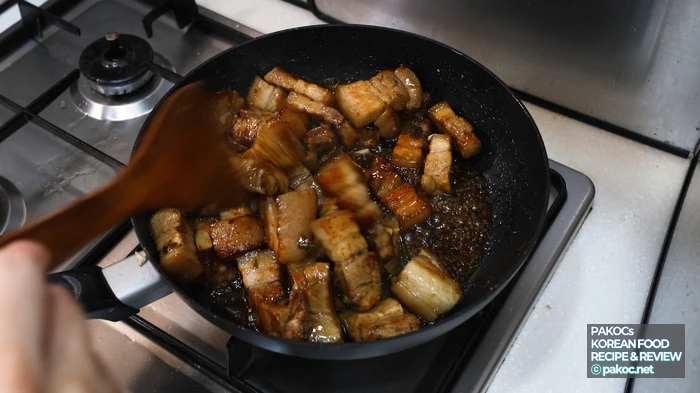
Copyright PAKOC https://pakoc.netWhen the sauce has soaked into the meat and it starts to look glossy, it’s done. If the sauce gets too thick, add 1 tbsp of water to loosen it. Keep the heat low and stir constantly so the sauce doesn’t burn.
ⓒ
Copyright PAKOC https://pakoc.netServe It Over Egg Fried Rice
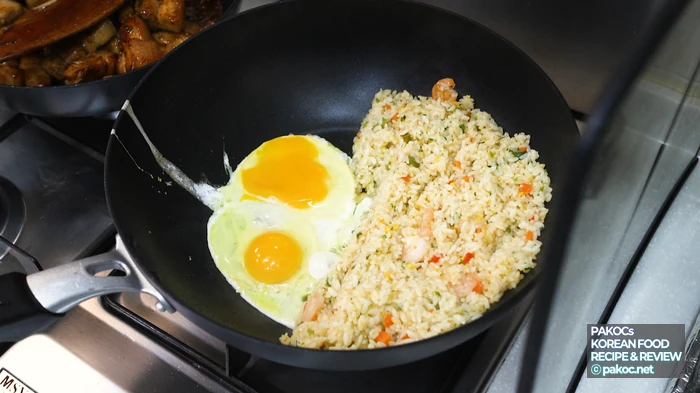
Here’s a tip. If you want this to be a proper meal rather than a side dish, make some egg fried rice. Pile the seared pork on top and you get a rice bowl that looks great too. I stir-fried a frozen shrimp and vegetable fried rice until nicely dry, then added egg to finish it.
ⓒ
Copyright PAKOC https://pakoc.net
ⓒ
Copyright PAKOC https://pakoc.netTransfer the finished pork to a serving dish. Sprinkle something green on top, like scallions or green onion, and you’re done.
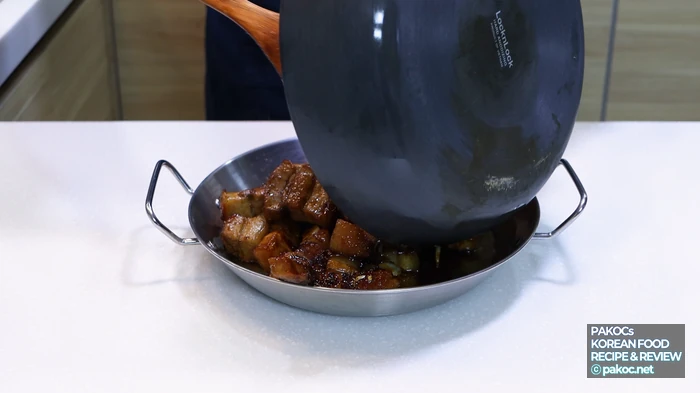
ⓒ
Copyright PAKOC https://pakoc.net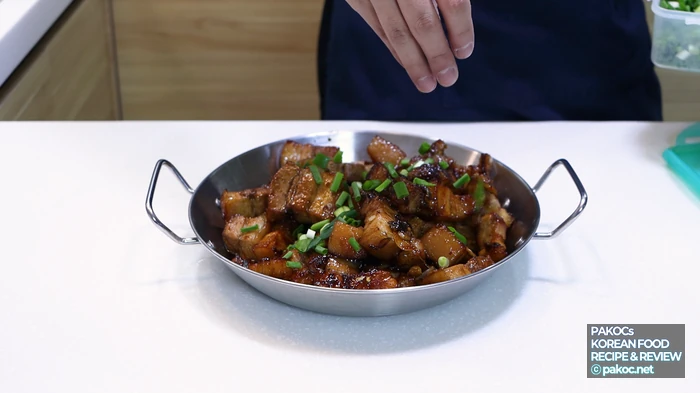
ⓒ
Copyright PAKOC https://pakoc.netPhoto Gallery of the Finished Dish
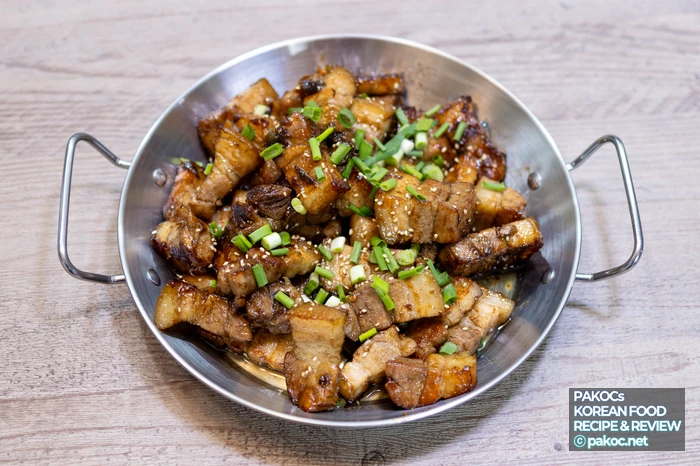
ⓒ
Copyright PAKOC https://pakoc.net
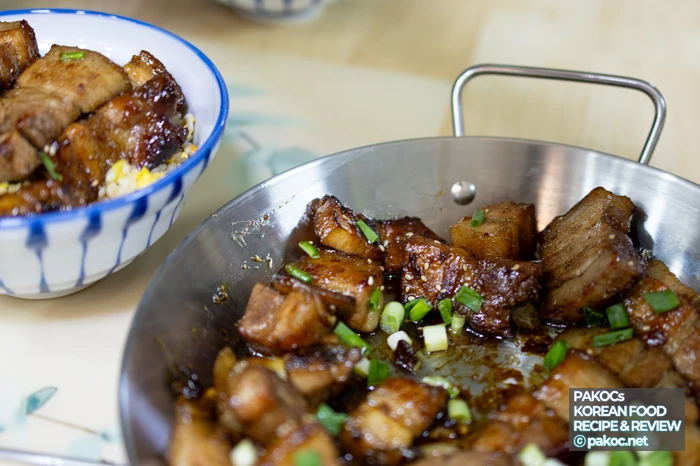
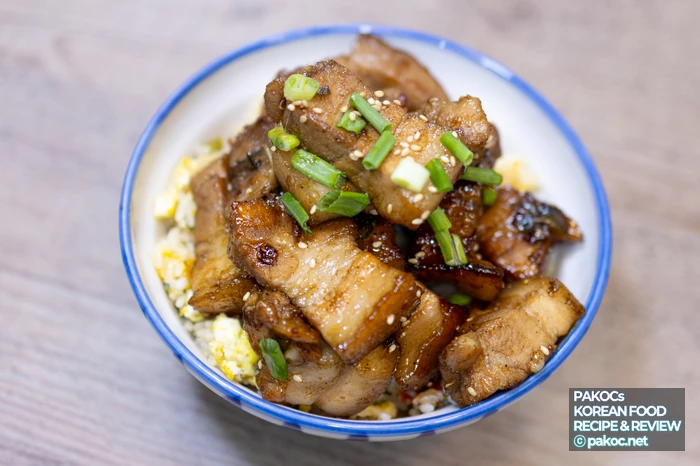
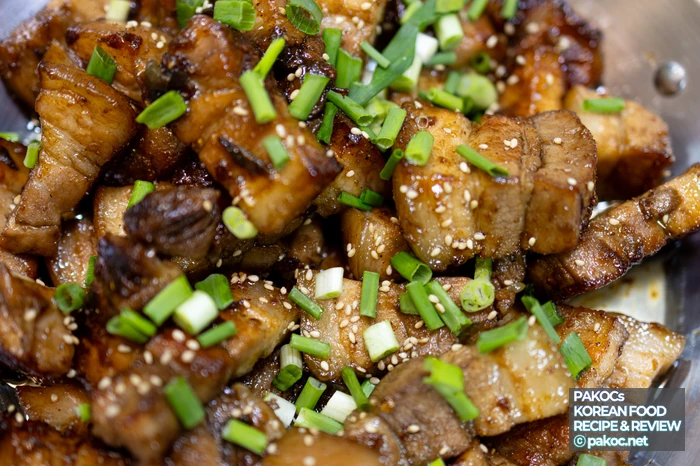
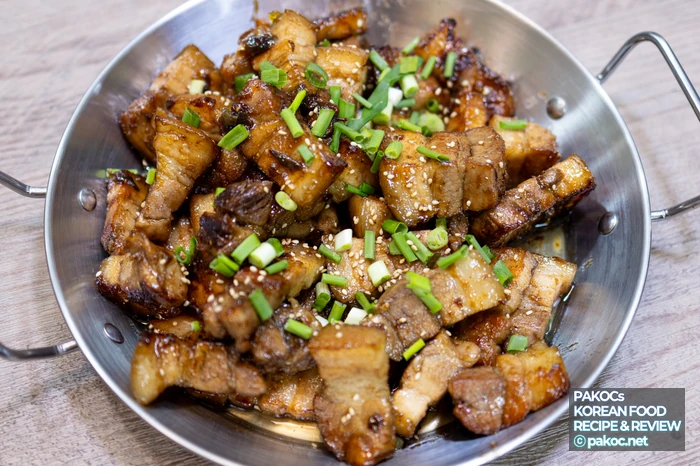
The Finished Chinese-Style Pork Belly
And here it is, the finished stir-fry. I plated it and topped it with plenty of finely chopped scallions and toasted sesame seeds, and it looks the part, doesn’t it? There’s only a little five-spice powder in it, but one bite and you’ll catch yourself thinking, wait, is this Chinese food? At the same time it isn’t heavy-handed, so it’s easy to enjoy as a lighter dish.
ⓒ
Copyright PAKOC https://pakoc.net
ⓒ
Copyright PAKOC https://pakoc.netAs I mentioned, egg fried rice is a great base if you want a quick one-bowl meal. Honestly, though, spooning the pork and sauce over plain white rice is just as fantastic. And if you like it spicy, add 1 tbsp of doubanjiang to the sauce.

ⓒ
Copyright PAKOC https://pakoc.net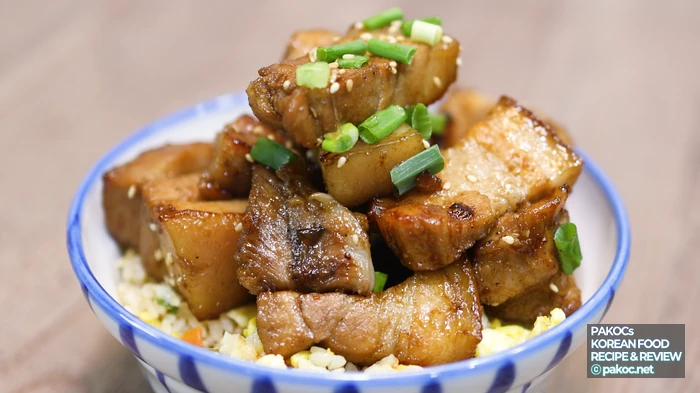
ⓒ
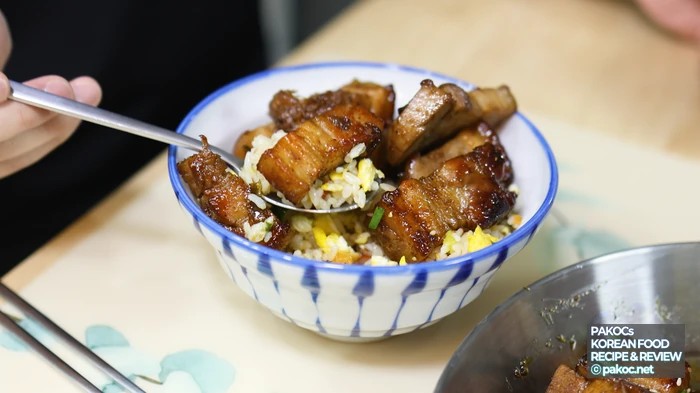
Copyright PAKOC https://pakoc.netSimmering, cutting and searing might sound like a lot of steps, but it’s less hands-on than you’d think. It takes a little time, and the flavor more than repays it. The recipe makes a generous amount, so enjoy some as a meal and freeze the rest to bring out later as a drinking snack.
ⓒ
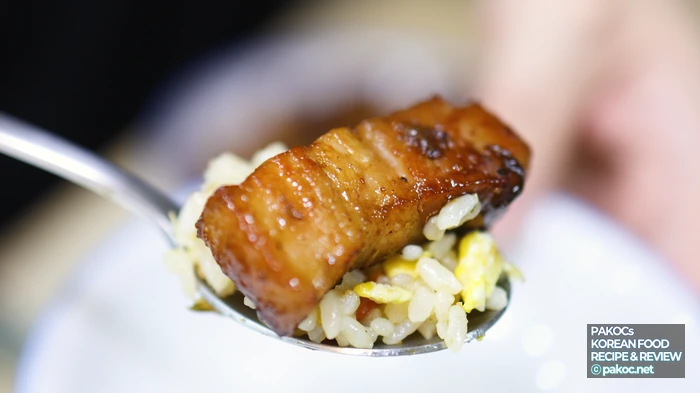
Copyright PAKOC https://pakoc.netIf you’re tired of the usual boiled pork, why not give this recipe a try? It’s satisfying to make and tastes great, and I’m sure you won’t regret it. Outside Korea, five-spice powder and oyster sauce are easy to find at most Asian grocery stores.
ⓒ
Copyright PAKOC https://pakoc.net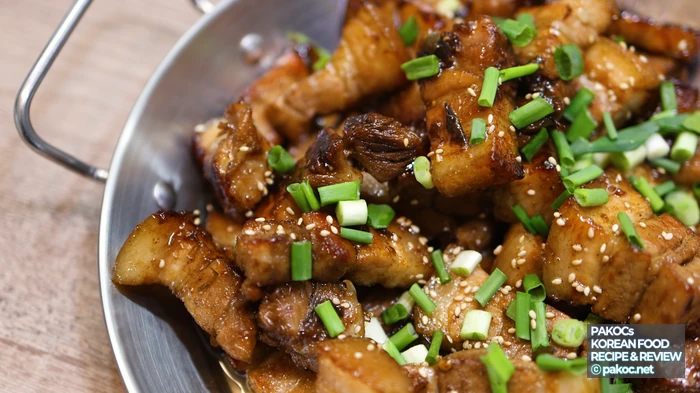
ⓒ
Copyright PAKOC https://pakoc.netTo learn more about five-spice powder, the spice blend that gives this dish its subtle Chinese character, see the Wikipedia article on five-spice powder.
Frequently Asked Questions
Q. Do I really need to boil the pork belly first?
Yes. Simmering it in the aromatic broth for about 40 minutes removes any gamey smell and makes the meat tender all the way through. With the inside already cooked, the pan only has to add color. Adjust the time to the thickness of the meat, but don’t go too long or it will fall apart.
Q. Why does my sauce keep burning?
The pan is probably too hot. Lower the heat to medium-low and let it cool for a moment before adding the sauce, because honey and soy sauce scorch fast. Keep stirring over low heat while it reduces, and add 1 tbsp of water if it gets too thick.
Q. How can I make it spicier?
The base sauce already has a little minced Cheongyang chili for a sweet-and-spicy balance. Stir in 1 tbsp of doubanjiang for a bolder, spicier Chinese-style flavor.
Q. What should I serve it with?
It’s great on its own as a drinking snack, or piled on egg fried rice for a good-looking rice bowl. Plain white rice with the sauce spooned over works beautifully too. The recipe makes plenty, so freeze the leftovers and save them for snacking later.
image sources
- 소스 졸이기 팁: Copyright PAKOC https://pakoc.net
- 두반장 추가 조리법: Copyright PAKOC https://pakoc.net
- 탁월한 구이 온도 조절: Copyright PAKOC https://pakoc.net
- 중화풍 맛 강조 재료: Copyright PAKOC https://pakoc.net
- 구운 고기 완성 모습: Copyright PAKOC https://pakoc.net
- 삼겹살 부드럽게 삶기: Copyright PAKOC https://pakoc.net
- 맛술 필수 재료: Copyright PAKOC https://pakoc.net
- 흑설탕 소스 비법: Copyright PAKOC https://pakoc.net
- 완성된 삼겹살 비주얼: Copyright PAKOC https://pakoc.net
- 중화풍 삼겹살 볶음 재료: Copyright PAKOC https://pakoc.net
- 고소한 참깨 고명 사용: Copyright PAKOC https://pakoc.net
- 속이 부드러운 삼겹살 요리법: Copyright PAKOC https://pakoc.net
- 매콤한 청양고추 소스: Copyright PAKOC https://pakoc.net
- 노릇한 삼겹살 구이 과정: Copyright PAKOC https://pakoc.net
- 맛있는 계란 볶음밥 조합: Copyright PAKOC https://pakoc.net
- 조리 시간 효율화 팁: Copyright PAKOC https://pakoc.net
- 소스 꾸덕하게 조리하는 법: Copyright PAKOC https://pakoc.net
- 프라이팬 구이 온도 조절: Copyright PAKOC https://pakoc.net
- 향신채 육수 비법: Copyright PAKOC https://pakoc.net
- 고기 물기 제거 팁: Copyright PAKOC https://pakoc.net
- 매콤한 두반장 소스 추가: Copyright PAKOC https://pakoc.net
- 맛술 조리 비법 레시피: Copyright PAKOC https://pakoc.net
- 맛술 사용 효과 이해: Copyright PAKOC https://pakoc.net
- 가정 중화요리 레시피 추천: Copyright PAKOC https://pakoc.net
- 홈파티 메뉴 완성 요리: Copyright PAKOC https://pakoc.net
- 부드러운 삼겹살 조리 비결: Copyright PAKOC https://pakoc.net
- 후추 넣어야 하는 이유: Copyright PAKOC https://pakoc.net
- 소스 농도 조절 방법: Copyright PAKOC https://pakoc.net
- 삼겹살 개성 있는 조리법: Copyright PAKOC https://pakoc.net
- 맛있는 삼겹살 완성 모습: Copyright PAKOC https://pakoc.net
- 중화풍 삼겹살 유혹적인 맛: Copyright PAKOC https://pakoc.net
- 향긋한 소스 조리 과정: Copyright PAKOC https://pakoc.net
- 맛있는 삼겹살 안주 레시피: Copyright PAKOC https://pakoc.net