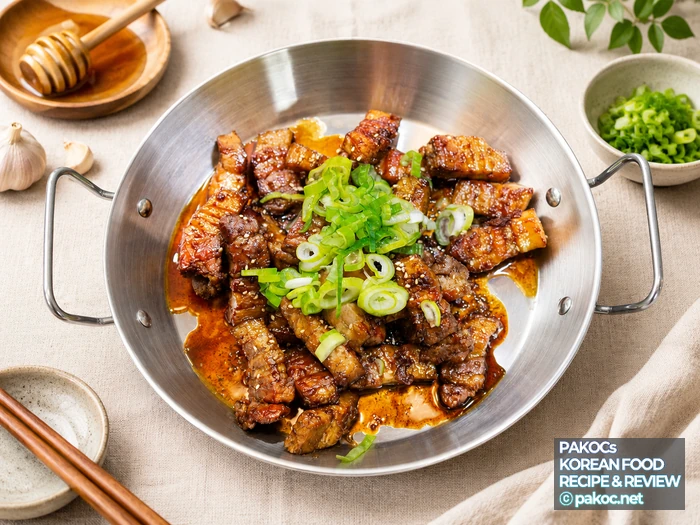
Hello! Today’s pork belly recipe is something a little special: Honey Garlic Soy Samgyeopsal. Samgyeopsal is Korean pork belly, and here it gets seared until crisp, then coated in a sweet-savory honey garlic sauce made from just three things: honey, dark soy sauce and minced garlic. Everything happens in one pan. Crisp outside, juicy inside, with a thick honey soy glaze soaking right in — aren’t you curious how that tastes? Spooned over rice it’s an absolute rice thief, and it works just as well as a drinking snack, so one batch tends to turn into a craving. It’s also genuinely easy home cooking. Shall we get started?
📋 At a Glance
- Dish: Honey Garlic Soy Samgyeopsal (Korean pork belly)
- Category: Korean · one-pan meat dish (rice side and drinking snack)
- Yield: based on 500g of pork belly
- Key ingredients: 500g pork belly, 3 tbsp honey, 3 tbsp dark soy sauce, 1 tbsp minced garlic
- Equipment: one frying pan
- Time: 10 minutes prep + 20 minutes cooking
- Difficulty: easy — the sauce is only three ingredients
- Key point: drop the heat to low and let the pan cool briefly before the sauce goes in, so the honey and soy don’t scorch
What Goes Into Honey Garlic Samgyeopsal
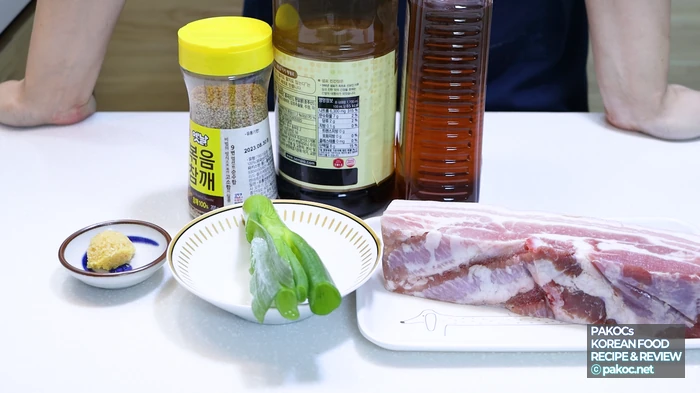
This recipe sears the pork belly crisp with no added oil, stir-fries it with minced garlic, then finishes by reducing a honey and soy sauce glaze, all in a single pan. The sauce gets plenty of depth from just three things: honey, dark soy sauce and minced garlic. Add oligosaccharide syrup or corn syrup and you can take the sauce somewhere thicker and richer still.
ⓒ
Copyright PAKOC https://pakoc.net[Ingredients for 500g of pork belly]
- 500g pork belly
- 3 tbsp honey
- 3 tbsp dark soy sauce
- 1 tbsp minced garlic
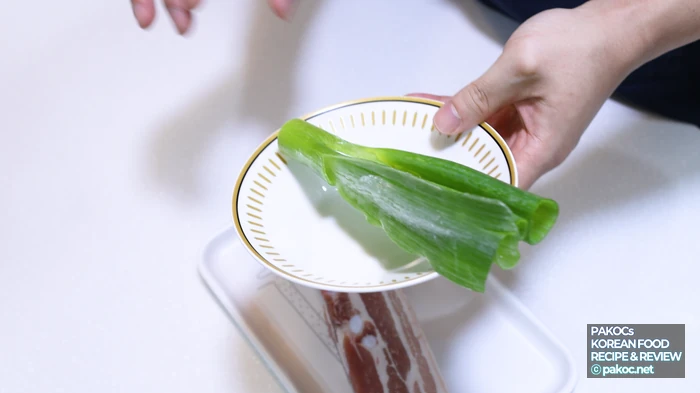
- A little green onion or scallion (optional)
- Salt, pepper and a little toasted sesame
[Honey garlic soy samgyeopsal recipe at a glance]
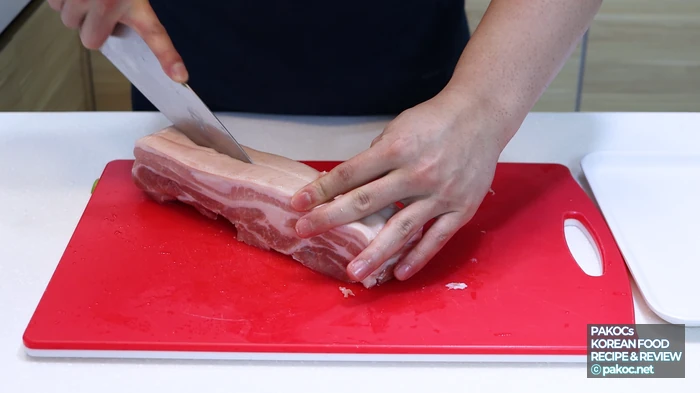
- Cut 500g of pork belly into bite-sized pieces. Slice them thinner or thicker to taste.
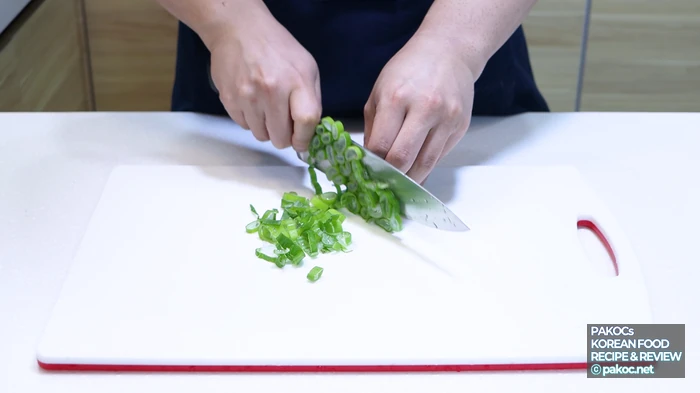
- Finely chop a small amount of green onion or scallion.
- Heat the pan on high first, then drop to medium once the pork goes in. Skip the cooking oil, and season with just a little salt and pepper at the start.
- Sear the meat until crisp without letting it burn. If too much fat renders out, blot it with paper towel or spoon some off.
- Add 1 tbsp of minced garlic and stir-fry it with the meat over medium heat.
- Once the garlic is cooked through, lower the heat, let the pan cool slightly, then add 3 tbsp dark soy sauce and 3 tbsp honey. Mix well and reduce briefly.
- Transfer the finished pork to a serving dish and top with toasted sesame and chopped green onion or scallion.
- Get the pan properly hot on high before the pork goes in, or the surface won’t crisp. After adding the meat, drop to medium so it doesn’t burn.
- Always lower the heat and let the pan cool for a moment before the sauce goes in. Add honey and soy to a scorching pan and the sauce burns.
- A tablespoon of oligosaccharide syrup or corn syrup makes the sauce noticeably thicker and richer.
- If a lot of fat renders out of the pork, skim it with paper towel or a spoon so the sauce soaks in and it doesn’t turn greasy.
- A generous scatter of green onion and sesame at the end lifts both the look and the flavor.
🥩 Prep time: 10 minutes
🍳 Cooking time: 20 minutes
You can use a whole slab of pork belly or pre-sliced packs, whichever you have. Cut it thinner or thicker to taste. Trimming away sections with too much fat or any bone in advance makes for a cleaner result. The green onion is only a finishing topping, so it isn’t strictly required.
ⓒ
Copyright PAKOC https://pakoc.net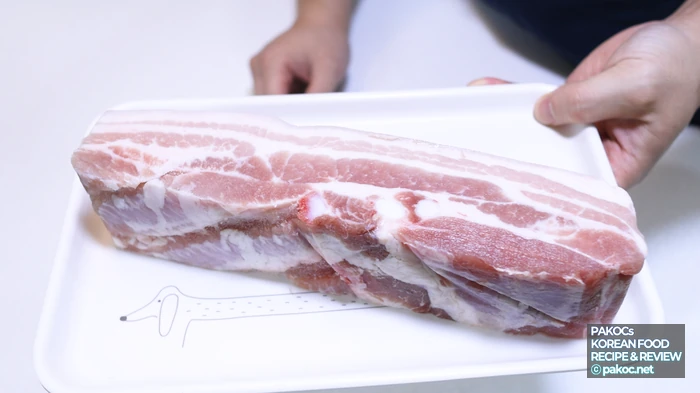
ⓒ
Copyright PAKOC https://pakoc.netHow Should You Cut the Pork Belly?
Let’s start the prep. Finely chop a little green onion or scallion for the garnish. It also helps to have the toasted sesame out and ready for the finish.
ⓒ
Copyright PAKOC https://pakoc.netCutting the pork belly is really the only prep that matters here. I used a 500g slab. All you need to do is cut it into bite-sized pieces, thinner or thicker as you prefer. Beyond trimming off any section with excessive fat or bone, that’s the whole job.
ⓒ
Copyright PAKOC https://pakoc.net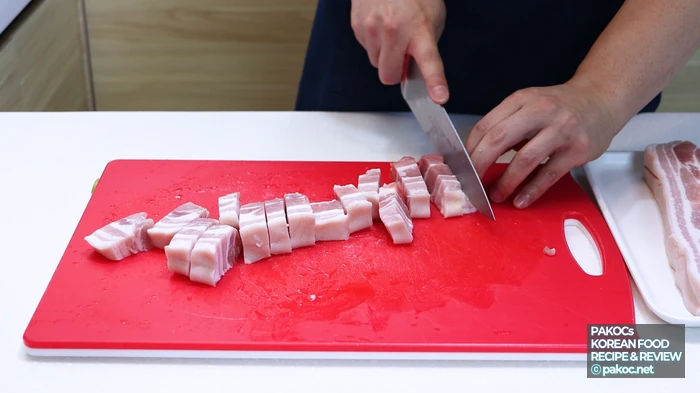
ⓒ
Copyright PAKOC https://pakoc.netStep by Step: Cooking It All in One Pan
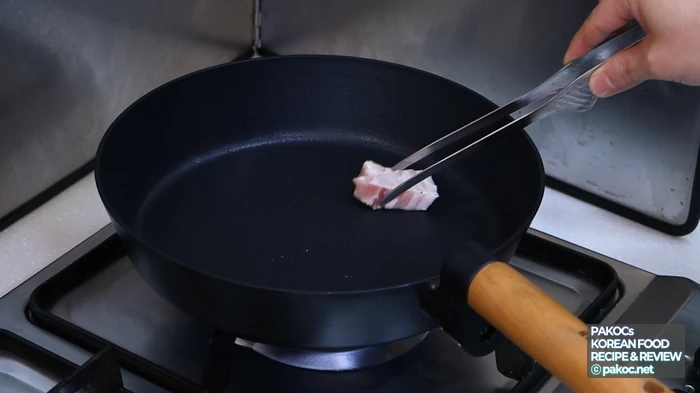
Time to cook. Start by preheating the frying pan thoroughly over high heat. Once it’s properly hot, take a meatier piece of the pork belly and rub it around to grease the surface, then drop the heat to medium. No cooking oil needed, since the pork renders plenty of its own.
ⓒ
Copyright PAKOC https://pakoc.net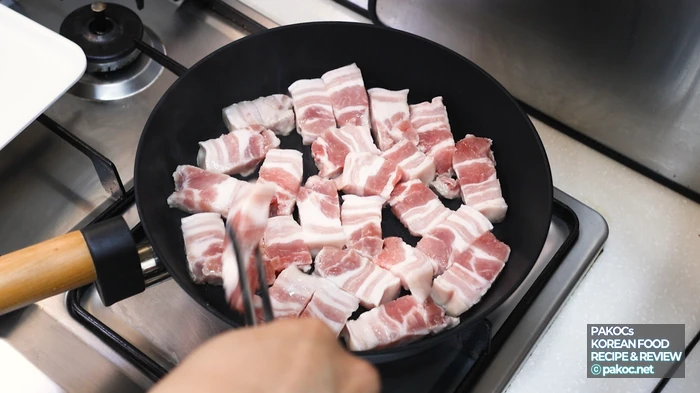
ⓒ
Copyright PAKOC https://pakoc.netSearing It Crisp Without Any Oil
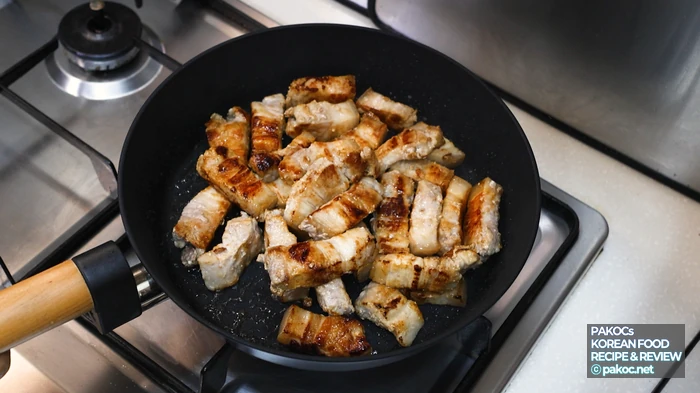
Once all the meat is in, season with just a little salt and pepper, then sear until the surface turns crisp without burning. If a lot of fat renders out while the pork cooks, blot it with paper towel or spoon some off. Skimming a bit of that fat is what lets the sauce soak in and keeps the dish from feeling greasy.
ⓒ
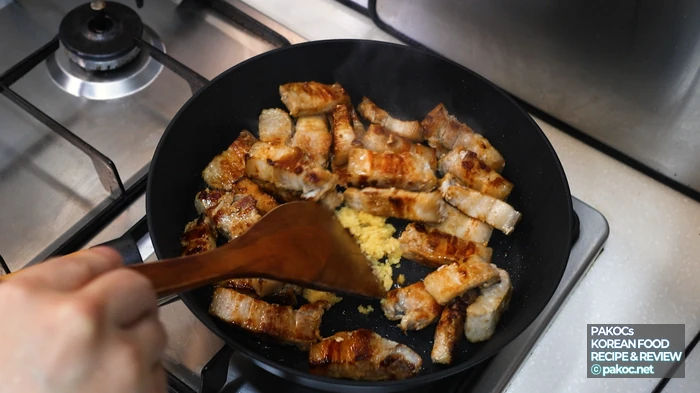
Copyright PAKOC https://pakoc.netOnce the pork belly is crisp, add 1 tbsp of minced garlic and stir-fry it with the meat over medium heat. Feel free to drop to low so the garlic doesn’t scorch, and don’t overdo it. As soon as the garlic softens and its aroma starts coming through, lower the heat and let the pan rest for a moment. Add the sauce to a pan that’s still searing hot and the honey and soy will burn in seconds.
ⓒ
Copyright PAKOC https://pakoc.net
ⓒ
Copyright PAKOC https://pakoc.netReducing the Honey and Soy Glaze
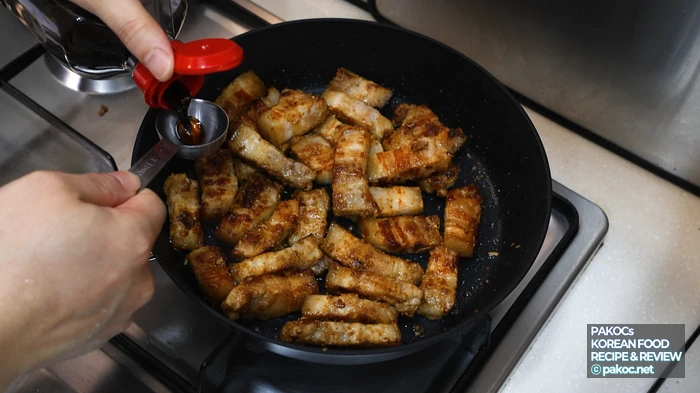
Once the pan has cooled down a little, add 3 tbsp of dark soy sauce and 3 tbsp of honey, then reduce slowly over low heat while mixing it through the meat. If you want a thicker glaze, this is the point to add a tablespoon of oligosaccharide syrup or corn syrup. That said, depending on the honey it can turn overly sweet, so add gradually and taste as you go.
ⓒ
Copyright PAKOC https://pakoc.net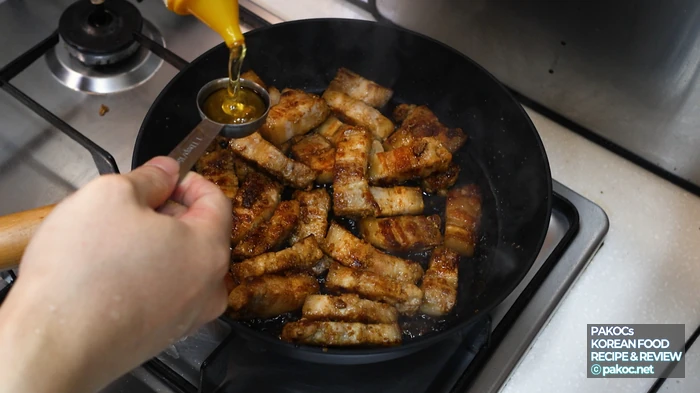
ⓒ

Copyright PAKOC https://pakoc.netGive the sauce and meat a good final toss. When the glaze has soaked into the pork over low heat and it starts to turn glossy, you’re done. Grab a piece and taste it.
ⓒ
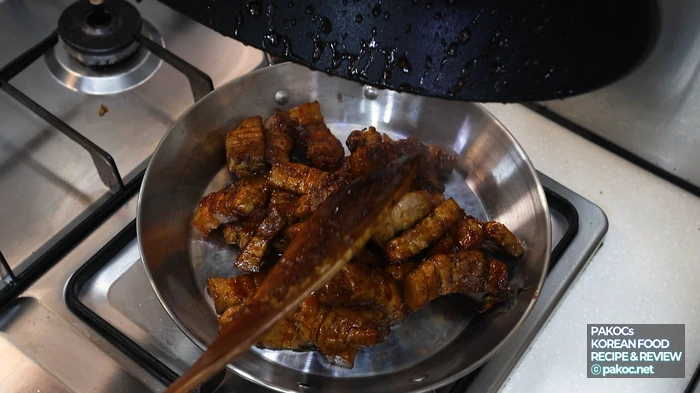
Copyright PAKOC https://pakoc.netTransfer the finished pork belly to a decent serving dish. Then top it with toasted sesame and finely chopped green onion or scallion, which is optional but does a lot for the look. Not strictly necessary, sure, but presentation counts for something.
ⓒ
Copyright PAKOC https://pakoc.net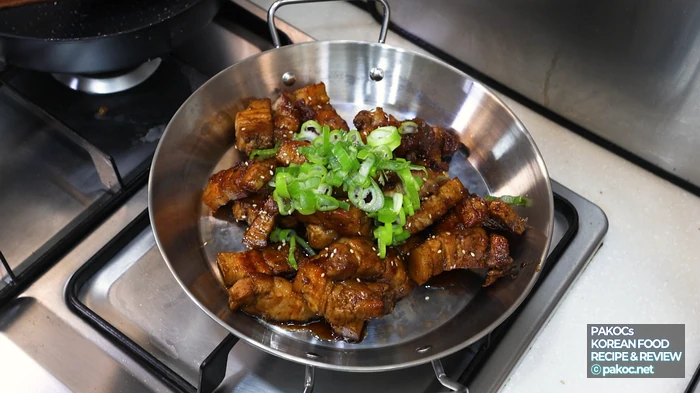
ⓒ
Copyright PAKOC https://pakoc.netHoney Garlic Samgyeopsal Photo Gallery
ⓒ
Copyright PAKOC https://pakoc.net
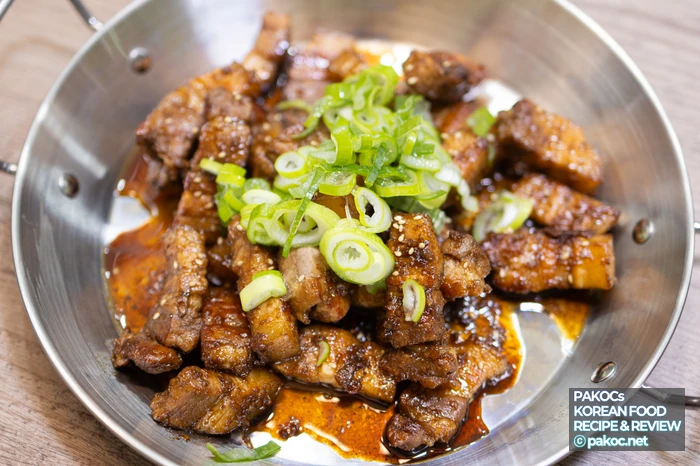
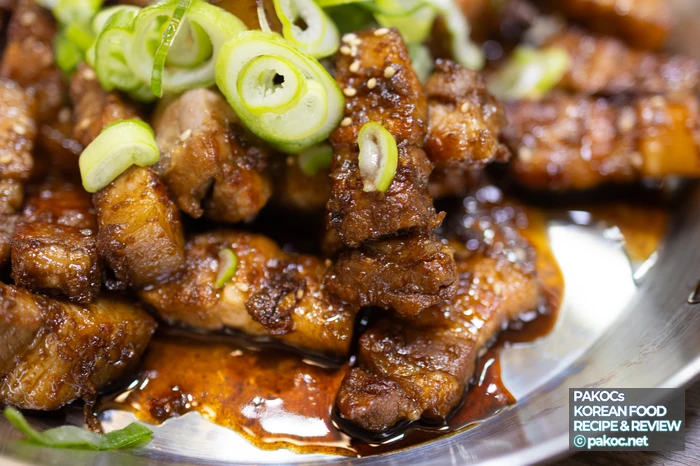
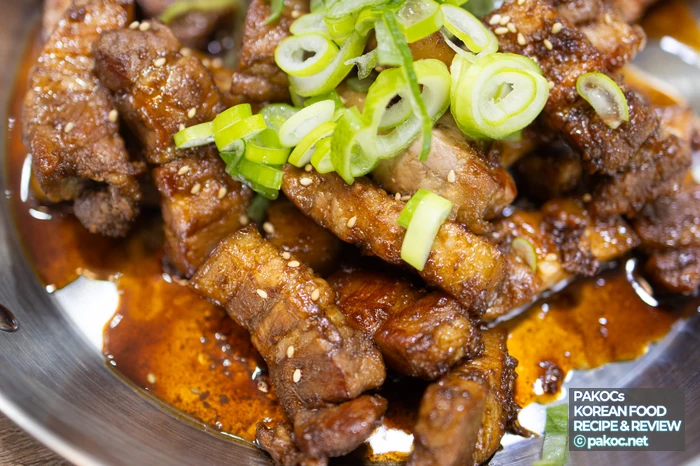
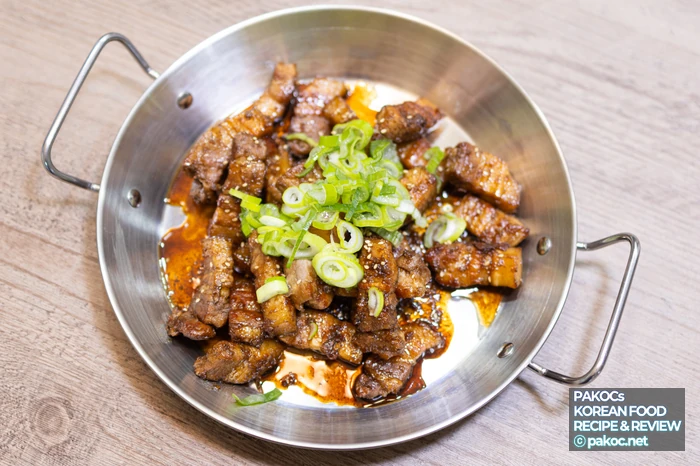
The Finished Dish
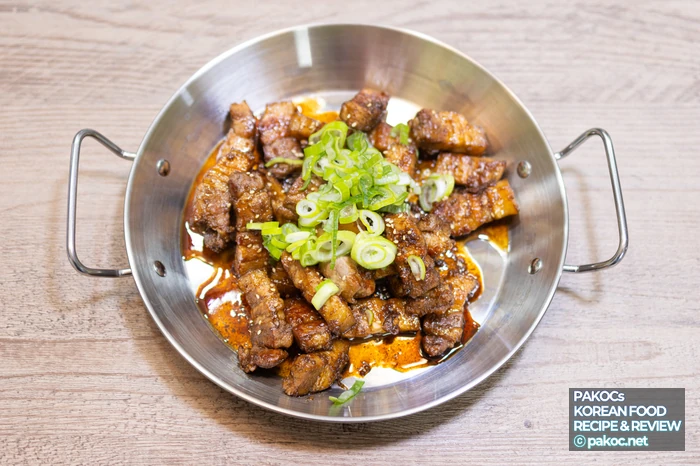
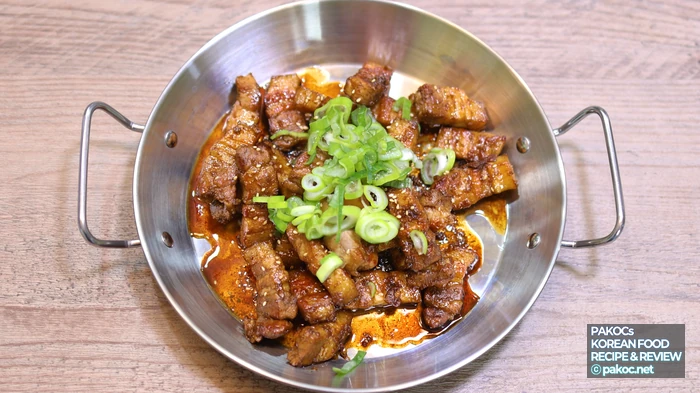
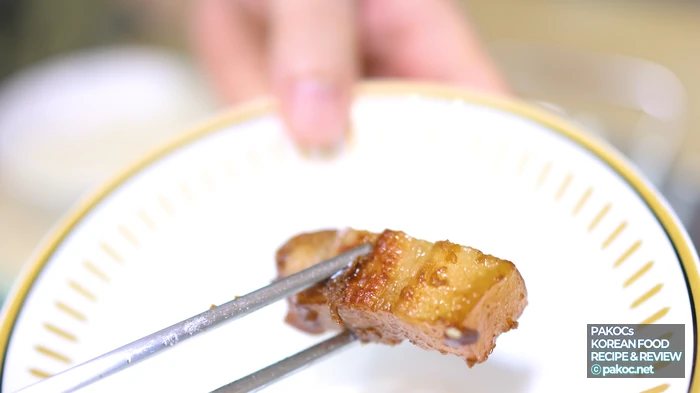
And there it is, the finished honey garlic soy samgyeopsal. Put up with the mild hassle of pan-frying pork at home and the process itself really isn’t complicated. It doesn’t call for a long list of sauces or much hands-on work either, which makes it genuinely easy for anyone.
ⓒ
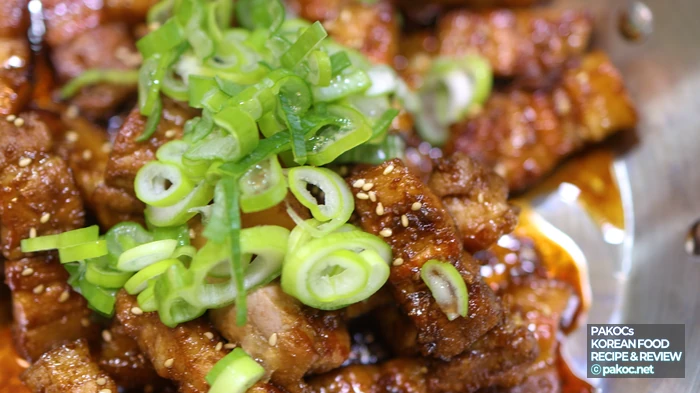
Copyright PAKOC https://pakoc.netThat sweet-savory honey garlic glaze soaking into crisp pork belly makes rice feel mandatory. It’s great wrapped in lettuce too, and spooned over rice with the sauce poured on top, it’s the definition of a rice thief.
ⓒ
Copyright PAKOC https://pakoc.net
ⓒ
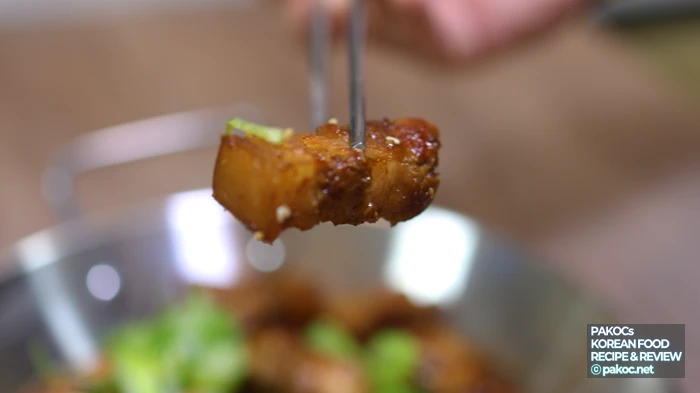
Copyright PAKOC https://pakoc.netIt almost feels unfair that a three-ingredient sauce tastes this good. Make it once and you’ll find yourself thinking about it again.
ⓒ
Copyright PAKOC https://pakoc.netI ate mine with rice, though it stands perfectly well on its own as something to drink alongside, so rice isn’t a requirement. Give it a go at home. I promise you won’t regret it.
ⓒ
Copyright PAKOC https://pakoc.net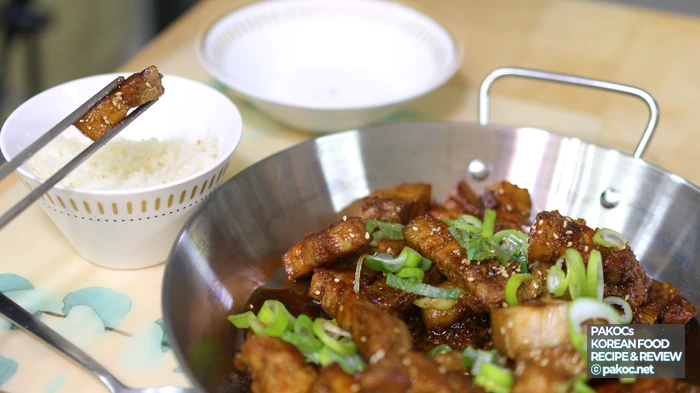
ⓒ
Copyright PAKOC https://pakoc.netIf you’re curious what cut samgyeopsal actually is and how Koreans typically eat it, there’s background at the Wikipedia entry on samgyeopsal.
Frequently Asked Questions
Q. Can I use regular pork belly from any supermarket?
Yes, a whole slab or pre-sliced packs both work. I used a 500g slab cut into bite-sized pieces. Trim off any section with excessive fat or bone beforehand for a cleaner result.
Q. My sauce keeps burning. What am I doing wrong?
Lower the heat and let the pan cool for a moment before the honey and soy go in. Added to a scorching pan, they burn almost instantly. Keep reducing slowly over low heat after that too.
Q. How do I get a thicker glaze?
Add a tablespoon of oligosaccharide syrup or corn syrup during the reduction. Depending on the honey it can get too sweet, so add gradually and taste. Skimming the rendered fat first also helps the glaze cling to the meat.
Youtube
image sources
- 레시피 간단 요리 예시: Copyright PAKOC https://pakoc.net
- 삼겹살 고기 부위 선택: Copyright PAKOC https://pakoc.net
- 마늘 볶기 방법 안내: Copyright PAKOC https://pakoc.net
- 맛있는 소스 재료 소개: Copyright PAKOC https://pakoc.net
- 삼겹살 굽기 과정 비법: Copyright PAKOC https://pakoc.net
- 바삭한 삼겹살 완성 모습: Copyright PAKOC https://pakoc.net
- 삼겹살 레시피 비법 공유: Copyright PAKOC https://pakoc.net
- 고기 구이 조리 팁: Copyright PAKOC https://pakoc.net
- 허니 갈릭 간장 삼겹살 조리법: Copyright PAKOC https://pakoc.net
- 바삭한 삼겹살 조리 팁: Copyright PAKOC https://pakoc.net
- 삼겹살 기름 걷어내기: Copyright PAKOC https://pakoc.net
- 달콤한 소스 조리 과정: Copyright PAKOC https://pakoc.net
- 완벽한 술안주 레시피: Copyright PAKOC https://pakoc.net
- 소스 졸이는 시간 조절: Copyright PAKOC https://pakoc.net
- 대파 고명 준비과정: Copyright PAKOC https://pakoc.net
- 소스 조리 비율 안내: Copyright PAKOC https://pakoc.net
- 고기 구이 온도 조절 방법: Copyright PAKOC https://pakoc.net
- 재료 준비 시간 안내: Copyright PAKOC https://pakoc.net
- 집밥 스타일 삼겹살 요리: Copyright PAKOC https://pakoc.net
- 파 고명 효과 소개: Copyright PAKOC https://pakoc.net
- 올리고당 추가 효과: Copyright PAKOC https://pakoc.net
- 허니 갈릭 간장 삼겹살 맛있게 조리하기: Copyright PAKOC https://pakoc.net
- 허니 갈릭 간장 삼겹살: Copyright PAKOC https://pakoc.net