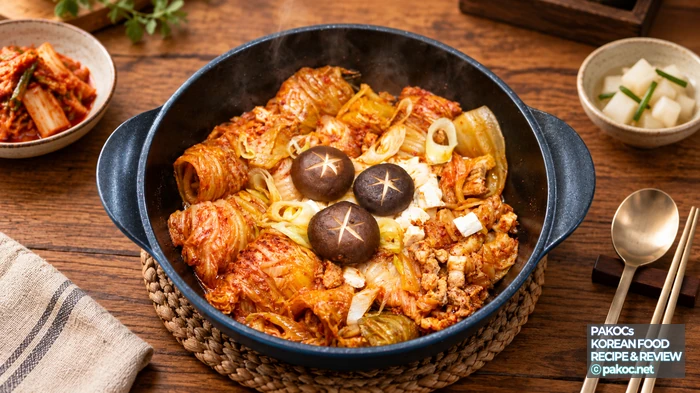
Kimchi-jjim, well-fermented kimchi braised slowly with pork, is classic Korean comfort food. Today I’m making a super-easy Pork Belly Kimchi Jjim where thick slices of pork belly are rolled up inside kimchi leaves. Apart from rolling the kimchi, you just put everything in one pot and let it simmer, so it’s simpler than it looks. As the ripe kimchi and pork belly cook together, the broth turns deep and rich, and it’s the kind of dish that makes a bowl of rice disappear. It’s heartier and more filling than kimchi stew, so the whole family will love it. Let’s get started.
📋 At a Glance
- Dish: Pork Belly Kimchi Jjim (super-easy braised kimchi rolls)
- Type: Korean braised dish (with rice, for guests or a family dinner)
- Yield: based on 900g kimchi and 400 to 500g pork belly
- Main ingredients: 900g kimchi, 400 to 500g pork belly, 500mL water, 1/2 block tofu, 2 tbsp gochugaru, 1 tbsp perilla oil
- Tools: a large pot (or a frying pan), a knife
- Time: 20 minutes prep + 40 minutes cooking
- Difficulty: easy — apart from rolling the kimchi, everything just simmers in one pot
- Key point: scrape out the kimchi filling and save it, then overlap the leaves as you roll so the pork is fully wrapped
Ingredients for Pork Belly Kimchi Jjim
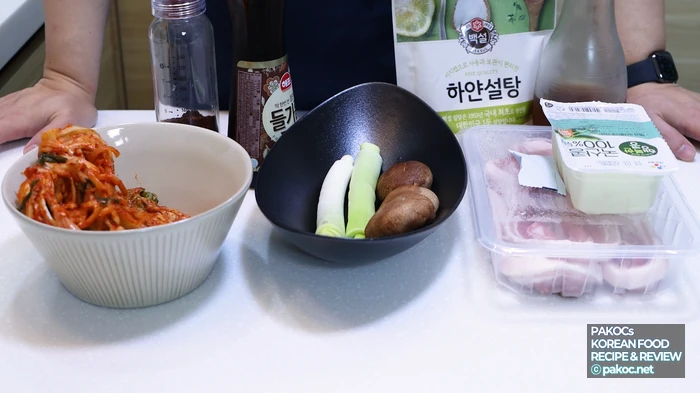
Naturally, this is still kimchi-jjim at heart, so the ingredients aren’t much different from the usual version. The only real differences are that the broth is a bit more reduced and the pork belly gets rolled up in the kimchi.
ⓒ
Copyright PAKOC https://pakoc.net[Seasoning]
- 2 tbsp gochugaru (Korean chili flakes)
- 1 tbsp sugar
- 1.5 tbsp anchovy sauce or tuna extract sauce
- 1/2 tbsp minced garlic
- 1 tbsp perilla oil
- A little black pepper
[Main Ingredients]
- 900g kimchi (half a small napa cabbage or a quarter of a large one)
- 400 to 500g pork belly
- 500mL water
- 1/2 block tofu
- 1 stock coin (optional)
- 1 tbsp Yondu seasoning sauce (optional)
- A little Cheongyang chili (optional)
- A little green onion (optional)
- Any mushrooms or vegetables you like for topping (optional)
- Some toasted sesame seeds (optional)
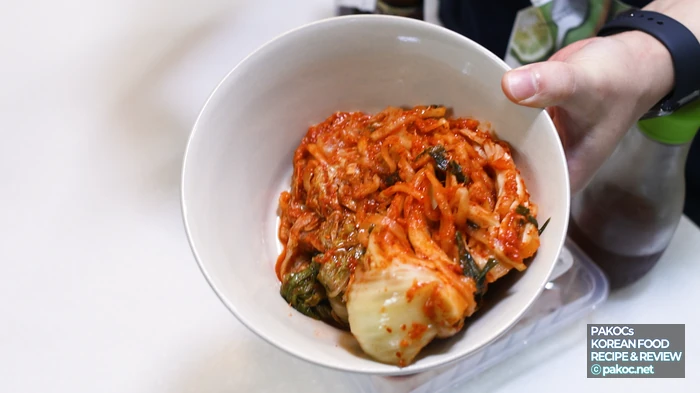
For the kimchi, I personally recommend 900g of Bibigo whole-cabbage kimchi. Among store-bought kimchi it isn’t too sour and is well balanced, so the broth stays clean even after braising. Above all, it’s the perfect size for rolling up pork belly. For the pork, go with slightly thick grilling-style slices.
ⓒ
Copyright PAKOC https://pakoc.net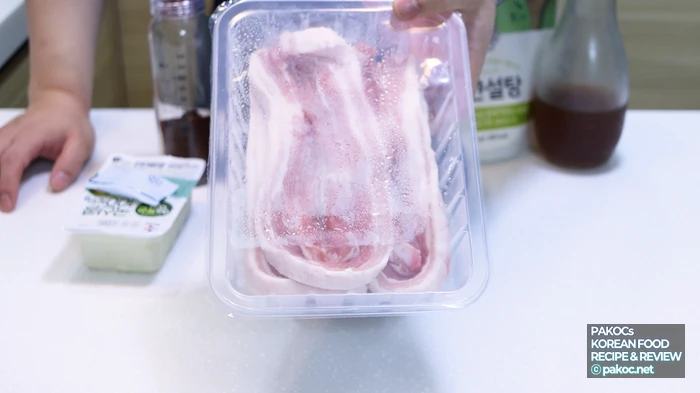
ⓒ
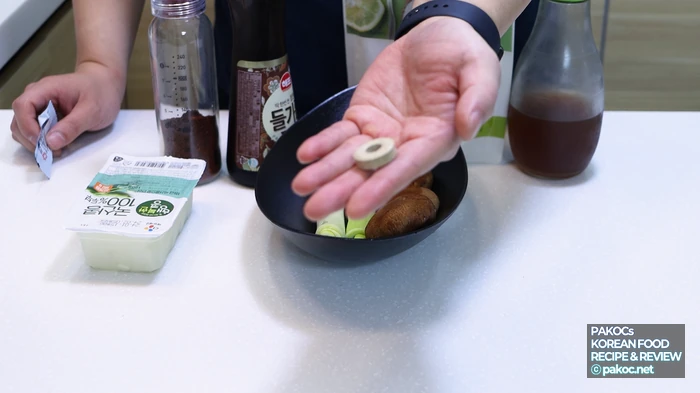
Copyright PAKOC https://pakoc.netIn today’s recipe I only used a stock coin and Yondu, a Korean vegetable-based seasoning sauce. That alone gives plenty of savory depth, but you can use beef bone broth instead of water, or anchovy or tuna extract sauce instead of the stock coin. Beyond that, I kept it simple with shiitake mushrooms, green onion and tofu.
ⓒ
Copyright PAKOC https://pakoc.net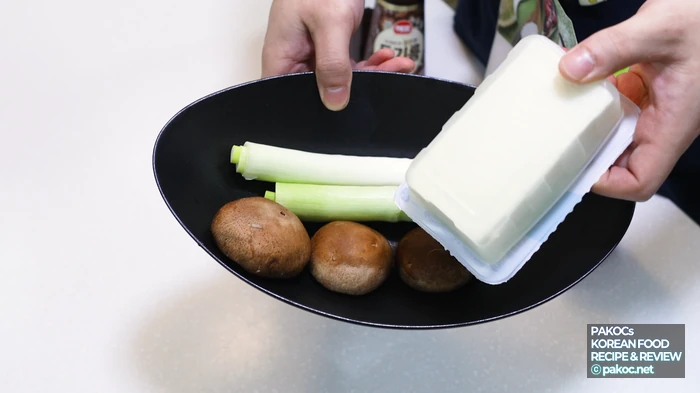
ⓒ
Copyright PAKOC https://pakoc.net[Recipe Summary]
- Cut the pork belly into pieces about 8cm long, and cut 1/2 block of tofu and the topping vegetables into bite-size pieces.
- Peel the kimchi apart leaf by leaf, gently scrape out the filling and set it aside, then finely chop the cabbage base.
- Place the pork belly on a cabbage leaf and roll it up from the end to make kimchi rolls.
- Dissolve a stock coin in 500ml of water.
- Warm 1 tbsp perilla oil in a pot over low heat, then lay in all the kimchi rolls.
- Pour in the broth and add 1 tbsp sugar, 1 tbsp Yondu, 2 tbsp gochugaru and some pepper.
- Top with the kimchi filling and the leftover pork, cover, and bring to a boil over high heat.
- Once it boils, lower the heat to low-medium and simmer for 30 minutes, turning the rolls once halfway.
- Add the toppings such as tofu, green onion and mushrooms, cover, and cook for another 10 minutes.
💧 Using beef bone broth instead of water makes the broth even deeper and richer.
🌶️ Cheongyang chilies make the broth spicier and more warming. If you just want them as a topping, add them at the end and cook only briefly!
🧂 You can lay the tofu on top at the end, or cut it into wide slices and tuck it between the kimchi rolls.
🥬 Prep time: 20 minutes
🍳 Cooking time: 40 minutes
Prepping the Ingredients
Prep the Topping Vegetables and Tofu
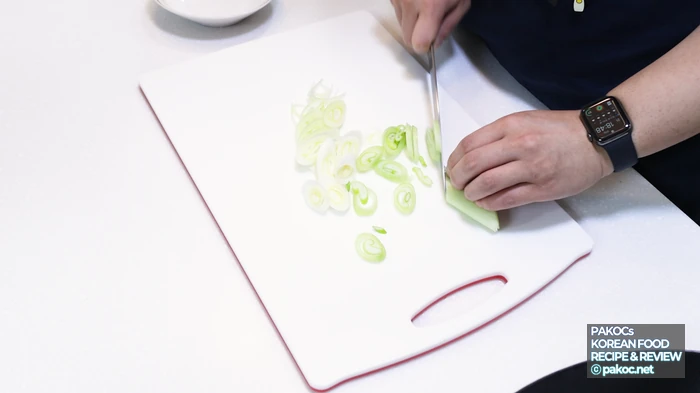
First, get the topping vegetables ready. I only used green onion and shiitake mushrooms. These are just for topping, so they go in at the very end. I sliced the white part of one green onion.
ⓒ
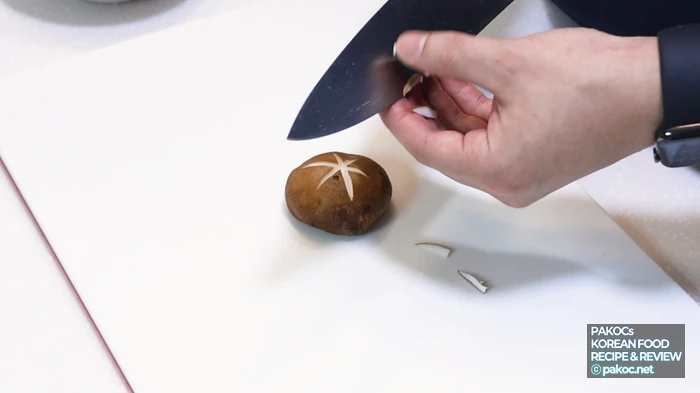
Copyright PAKOC https://pakoc.netI scored three shiitake mushrooms. Of course, you can use whatever you like besides shiitake; enoki or pine mushrooms work nicely too. You can also add Cheongyang chilies as an option for a spicier kick.
ⓒ
Copyright PAKOC https://pakoc.net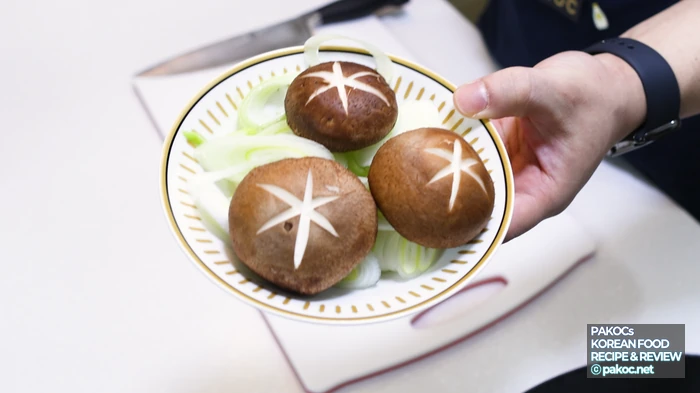
ⓒ
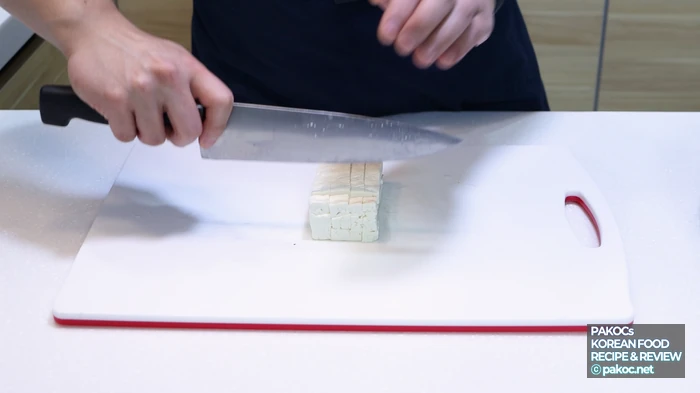
Copyright PAKOC https://pakoc.netCut half a block of tofu into bite-size pieces. I planned to lay it on top near the end, warm it briefly and eat it alongside the kimchi rolls, so I cut mine a little small. You can also cut it into wide slices and tuck them between the rolls.
ⓒ
Copyright PAKOC https://pakoc.netCut the Pork Belly and Prep the Kimchi
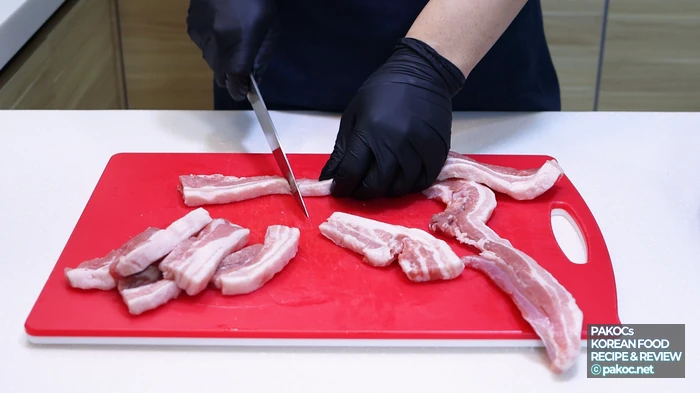
Cut 400 to 500g of pork belly into suitable pieces. I made mine about 8cm long, which turns out to be just the right size once it’s wrapped in a large kimchi leaf. If there are any bones, remove them first.
ⓒ
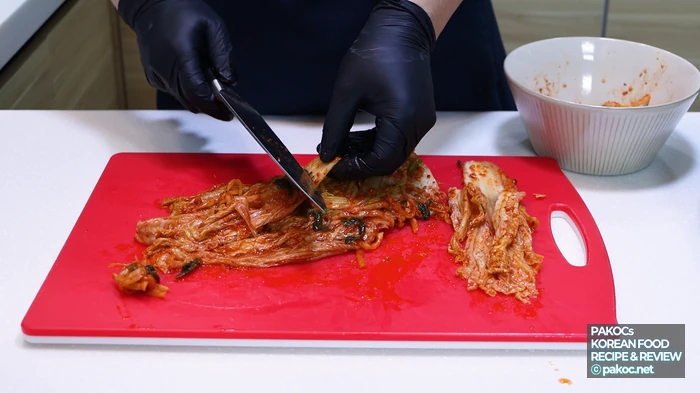
Copyright PAKOC https://pakoc.netCut off the cabbage base and chop it finely. Separate the kimchi leaf by leaf, then gently scrape the messy filling off with a knife. Don’t throw it away, though; it goes into the pot with the leftover pork, so keep it in a separate bowl.
ⓒ
Copyright PAKOC https://pakoc.net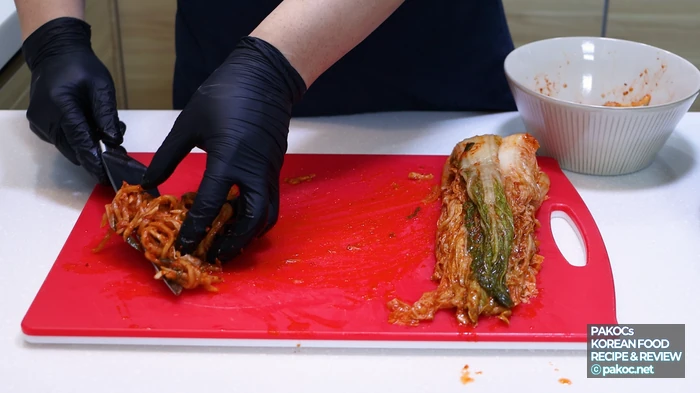
ⓒ
Copyright PAKOC https://pakoc.netRoll the Pork in Kimchi and Make the Broth
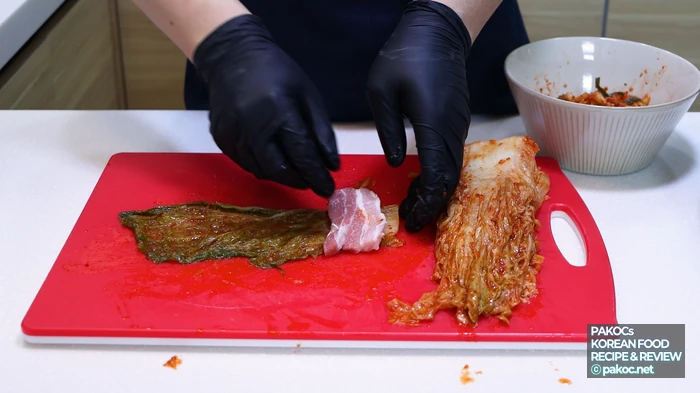
Now it’s time to roll. Place a piece of pork belly at one side of a cabbage leaf and roll it up from the end. The pork is usually wider than the leaf, so overlap the leaves a little as you go until the pork is completely wrapped. Stack the finished kimchi rolls neatly as you work.
ⓒ
Copyright PAKOC https://pakoc.net
ⓒ
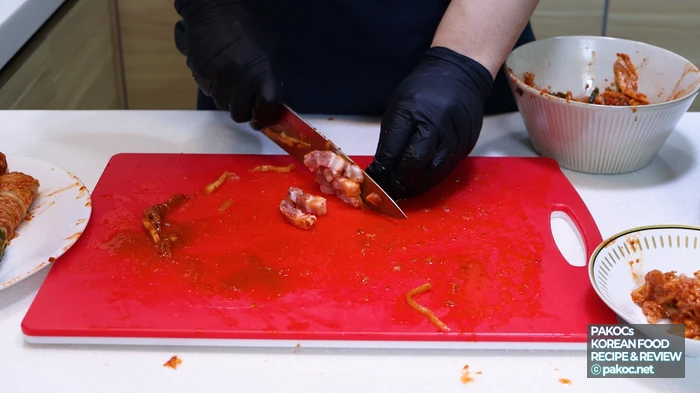
Copyright PAKOC https://pakoc.netIf you have a little pork left over, chop it into small pieces. As I mentioned, it goes into the pot together with the kimchi filling. And with that, the kimchi rolls are ready. It won’t take as long as you might think!
ⓒ
Copyright PAKOC https://pakoc.net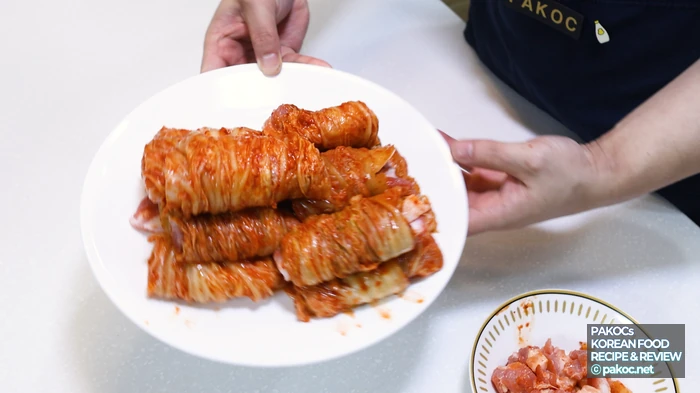
ⓒ
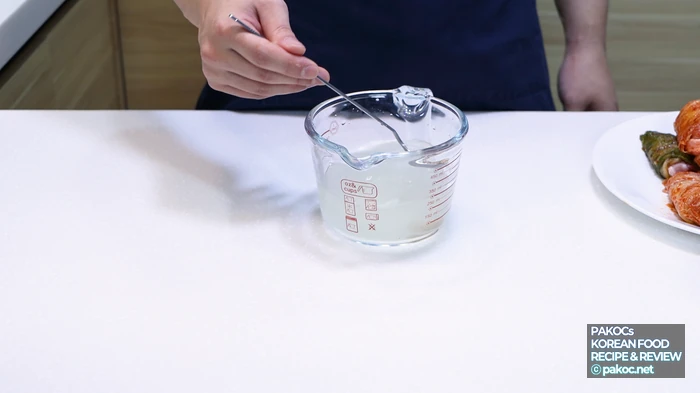
Copyright PAKOC https://pakoc.netLet’s also get the broth ready in advance. Warm 500ml of water, add one stock coin and stir until it dissolves. Instead of the stock coin, tuna extract or anchovy sauce works too, and you can swap the water for beef bone broth.
ⓒ
Copyright PAKOC https://pakoc.net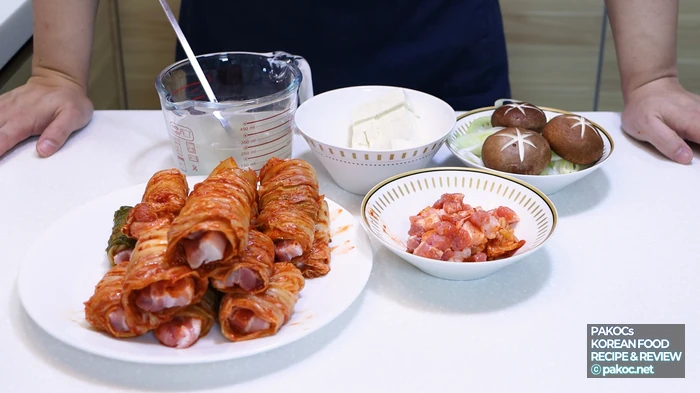
ⓒ
Copyright PAKOC https://pakoc.netBraising the Kimchi Rolls
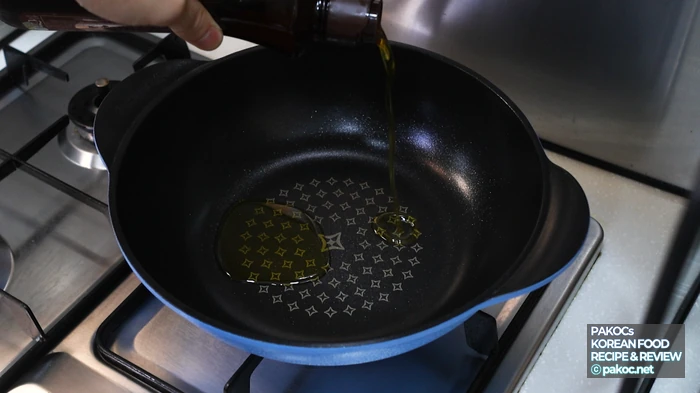
Time to cook! I used a large pot. Since the method is to lay all the kimchi rolls in the bottom and pour the broth over them for a gentle, reduced braise, a frying pan works too if you don’t have a suitable pot. Add 1 tbsp of perilla oil, warm it briefly over low heat, and lay in all the kimchi rolls. Then pour all the broth over the top.
ⓒ
Copyright PAKOC https://pakoc.net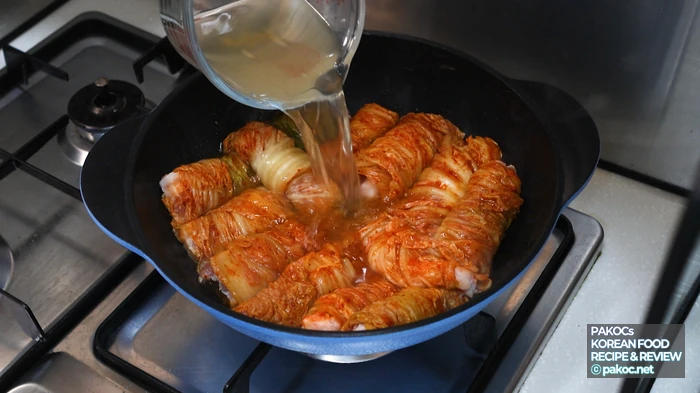
ⓒ
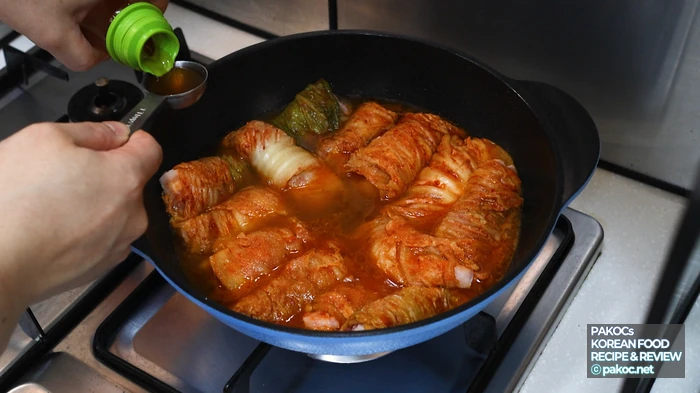
Copyright PAKOC https://pakoc.netFor seasoning, add 1 tbsp sugar, 1 tbsp Yondu and 2 tbsp gochugaru. A pinch of pepper is nice too, if you like. There’s no need to mix anything beforehand.
ⓒ
Copyright PAKOC https://pakoc.net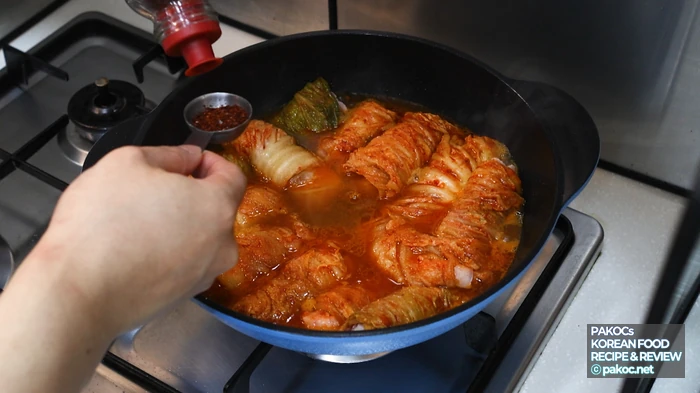
ⓒ
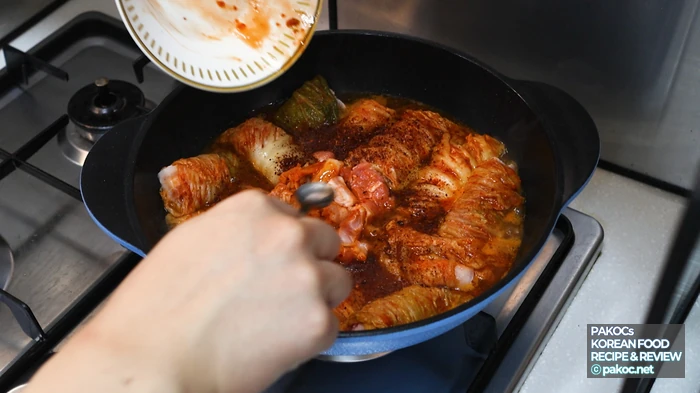
Copyright PAKOC https://pakoc.netNext, add the kimchi filling and the leftover pork you set aside. Cover and bring it to a boil over high heat, then once the broth is bubbling, lower the heat to low-medium and simmer for 30 minutes in total. If the broth gets too low, carefully turn the kimchi rolls over once halfway through.
ⓒ
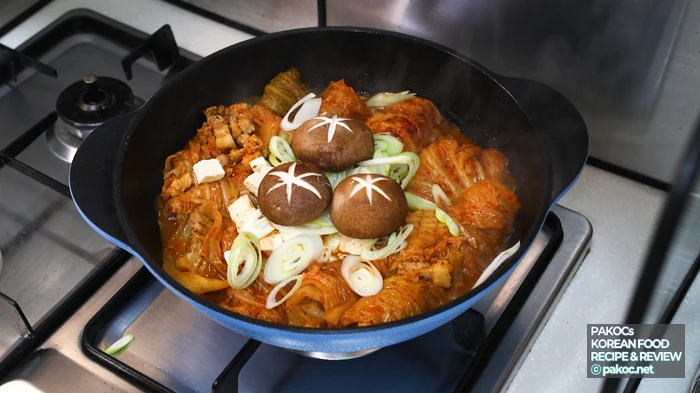
Copyright PAKOC https://pakoc.netAfter 30 minutes, I opened the lid and added the tofu, green onion and shiitake mushrooms for topping. Cover again and cook for about 10 more minutes. If you’re using enoki mushrooms, don’t cook them separately; add them straight into the broth.
ⓒ
Copyright PAKOC https://pakoc.net
ⓒ
Copyright PAKOC https://pakoc.netPhoto Gallery of the Finished Dish
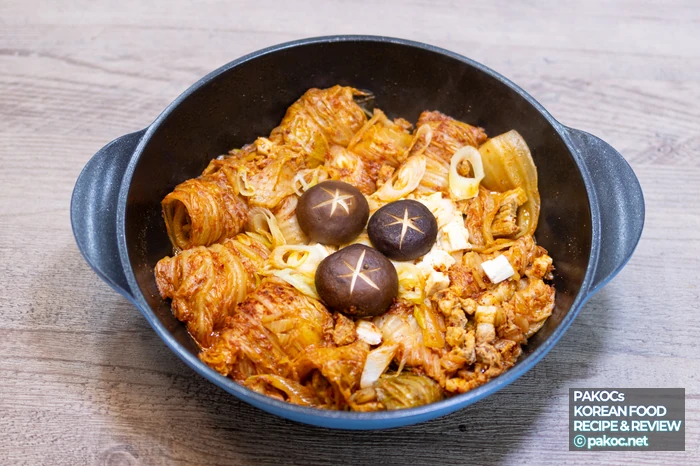
ⓒ
Copyright PAKOC https://pakoc.net
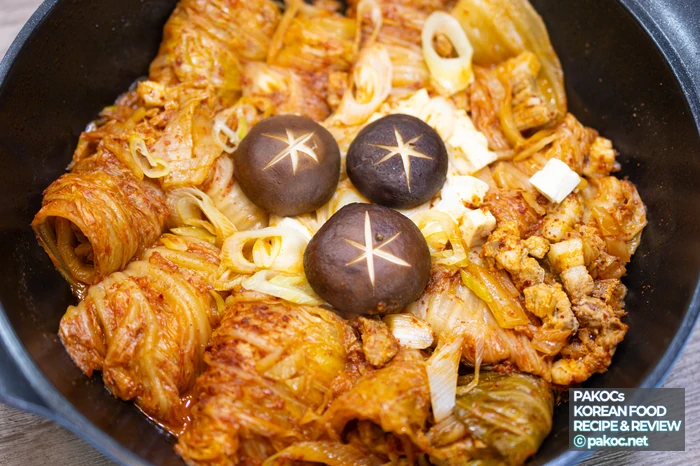
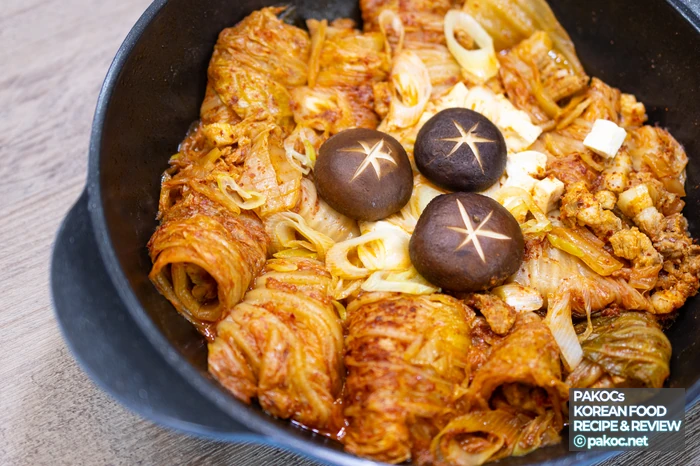
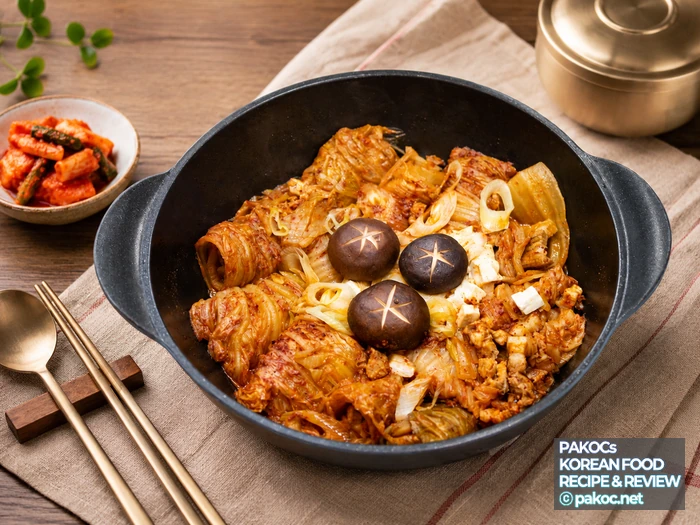
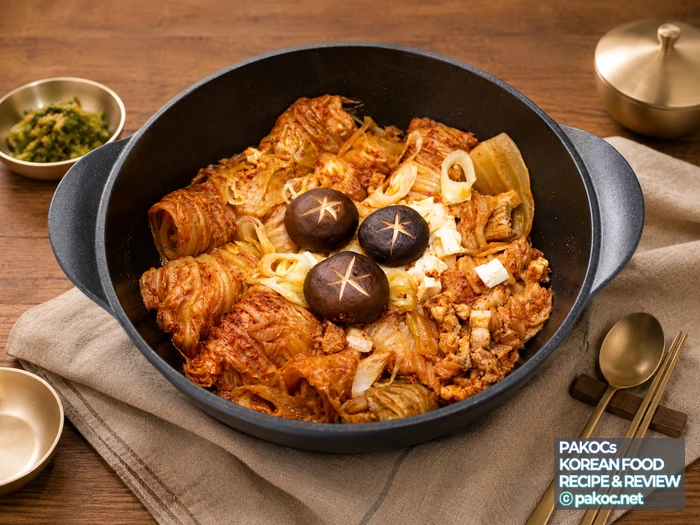
The Finished Pork Belly Kimchi Jjim
And here it is, the finished kimchi jjim with rolled pork belly, made the easy way. If regular kimchi-jjim has started to feel a little ordinary, cooking it this way makes for a fun change. Make it for guests at a housewarming or for a family dinner, and everyone will be impressed.
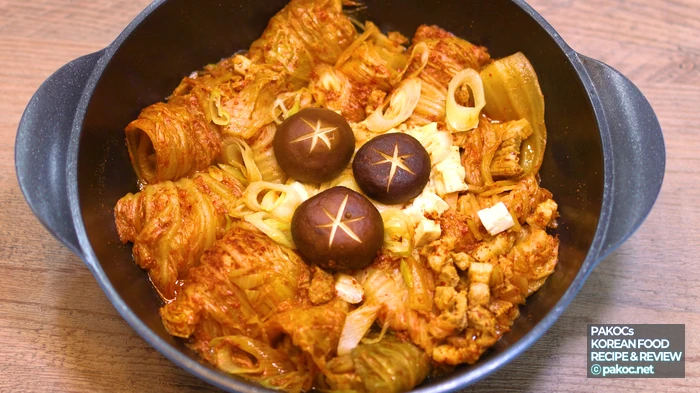
ⓒ
Copyright PAKOC https://pakoc.netTo eat, there’s no need to stir anything around; just pick up a single roll with tongs. Unlike typical kimchi-jjim, it isn’t very brothy, but it’s already well seasoned, so it goes perfectly with a bowl of rice just as it is.

ⓒ
Copyright PAKOC https://pakoc.net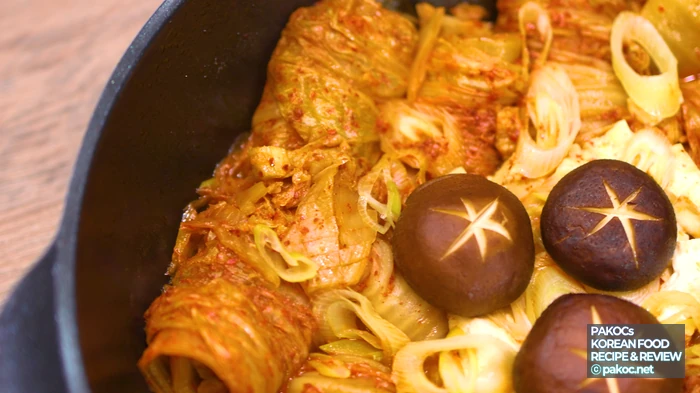
ⓒ
Copyright PAKOC https://pakoc.netServing a roll on a plate and slicing it with a knife is a surprisingly fun way to eat kimchi-jjim, haha. Add a bit of the tofu from the topping and the seasoning is just right. I promise you won’t regret it. Outside Korea, look for napa cabbage kimchi, perilla oil and gochugaru at an Asian grocery store.

ⓒ
Copyright PAKOC https://pakoc.net
ⓒ
Copyright PAKOC https://pakoc.netKimchi-jjim belongs to jjim, the family of Korean braised and steamed dishes. To learn more, see the Wikipedia article on jjim.
Frequently Asked Questions
Q. How long should pork belly kimchi jjim cook?
Cover and bring it to a boil over high heat, then lower to low-medium and simmer for 30 minutes, carefully turning the rolls once halfway. Add toppings such as tofu, green onion and mushrooms, and cook for 10 more minutes.
Q. Which kimchi works best?
I recommend 900g of Bibigo whole-cabbage kimchi. It isn’t too sour and is well balanced, so the broth stays clean, and the leaves are the perfect size for rolling up pork belly.
Q. What can I use instead of a stock coin?
Anchovy sauce or tuna extract sauce works fine. Using beef bone broth instead of water also makes the broth deeper and richer.
Q. How can I make it spicier?
Add Cheongyang chilies for a spicier, more warming broth. If you only want them as a topping, add them at the end and cook them just briefly.
image sources
- 맛있게 끓인 김치 특징: Copyright PAKOC https://pakoc.net
- 간단한 요리 시간 소개: Copyright PAKOC https://pakoc.net
- 한국식 김치 요리 특징: Copyright PAKOC https://pakoc.net
- 조리 과정 간편한 팁: Copyright PAKOC https://pakoc.net
- 김치찜 재료 비율 소개: Copyright PAKOC https://pakoc.net
- 삼겹살 고기 선택 팁: Copyright PAKOC https://pakoc.net
- 김치 부드럽게 조리하는 법: Copyright PAKOC https://pakoc.net
- 김치찌개 와 차이점 소개: Copyright PAKOC https://pakoc.net
- 간단 요리 레시피 특징: Copyright PAKOC https://pakoc.net
- 김치 통으로 넣는 조리법: Copyright PAKOC https://pakoc.net
- 삼겹살 요리 재료 소개: Copyright PAKOC https://pakoc.net
- 김치 국물 깔끔한 특징: Copyright PAKOC https://pakoc.net
- 김치 요리 추천 방법: Copyright PAKOC https://pakoc.net
- 요리 기술 간편하게 하는 법: Copyright PAKOC https://pakoc.net
- 초간단 요리 최고 특징: Copyright PAKOC https://pakoc.net
- 맛있는 저녁 메뉴 추천: Copyright PAKOC https://pakoc.net
- 삼겹살 김치찜 재료 소개: Copyright PAKOC https://pakoc.net
- 김치 국물 진하게 조리기: Copyright PAKOC https://pakoc.net
- 삼겹살 부드럽게 삶는 방법: Copyright PAKOC https://pakoc.net
- 한식 가정식 특별한 레시피: Copyright PAKOC https://pakoc.net
- 김치 조리 팁 사전 준비: Copyright PAKOC https://pakoc.net
- 냄비 사용 요령 효율적: Copyright PAKOC https://pakoc.net
- 삼겹살 부위 선택 가이드: Copyright PAKOC https://pakoc.net
- 양념장 효과적인 준비법: Copyright PAKOC https://pakoc.net
- 양념장 구성 신선한 재료: Copyright PAKOC https://pakoc.net
- 초간단 삼겹살 김치찜 레시피: Copyright PAKOC https://pakoc.net
- 김치 재료 준비 과정: Copyright PAKOC https://pakoc.net
- 김치찜 가위 사용 팁: Copyright PAKOC https://pakoc.net
- 김치 비비고 추천 브랜드: Copyright PAKOC https://pakoc.net
- 김치찜 단순한 레시피 공유: Copyright PAKOC https://pakoc.net
- 볶은참깨 마무리 토핑 효과: Copyright PAKOC https://pakoc.net
- 양념장 미리 준비하는 팁: Copyright PAKOC https://pakoc.net
- 삼겹살 요리 재료 비율 조정: Copyright PAKOC https://pakoc.net
- 김치 신선도 확인후 사용: Copyright PAKOC https://pakoc.net
- 볶은참깨 맛 풍부하게 올리기: Copyright PAKOC https://pakoc.net
- 얼큰한 김치찜 재료 소개: Copyright PAKOC https://pakoc.net